Thank you for purchasing the ADTR Coil Over Suspension system. Below you’ll see some helpful information and pictures for installation.
Front:
- The front part of our system uses a Ridetech HQ series coil over suspension kit. There should be installation instructions supplied in the box but in case there’s not, here is the link to Ridetech’s online instructions: Ridetech HQ Front Coil Over Installation Instructions
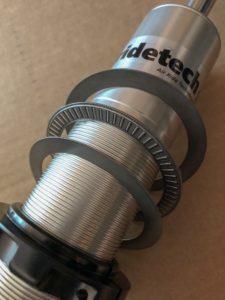
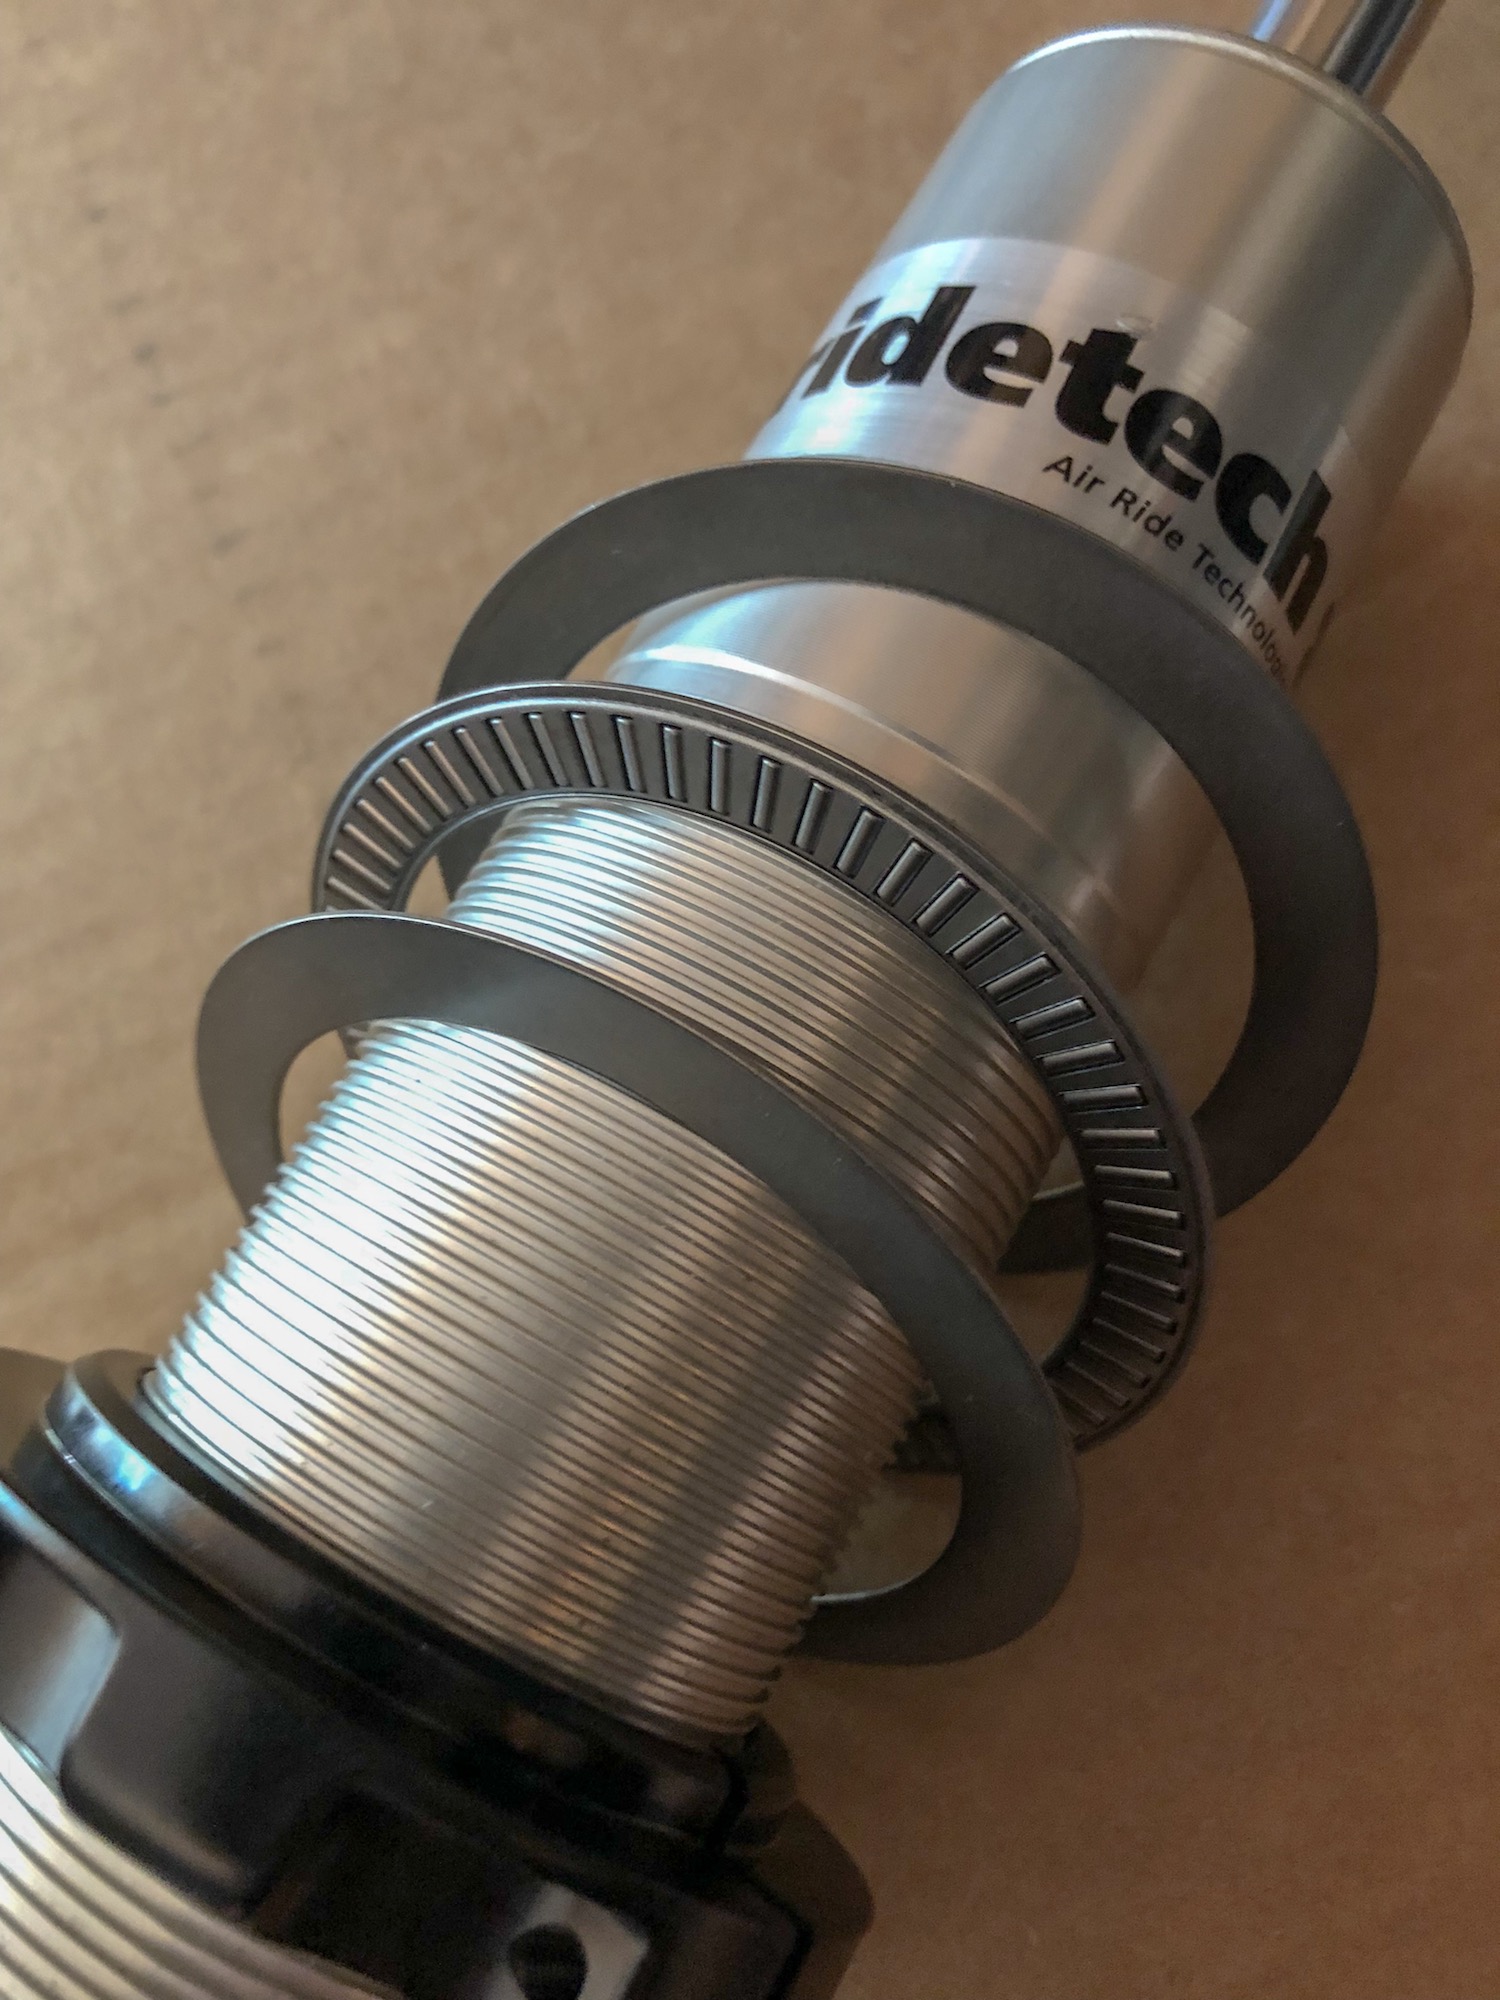
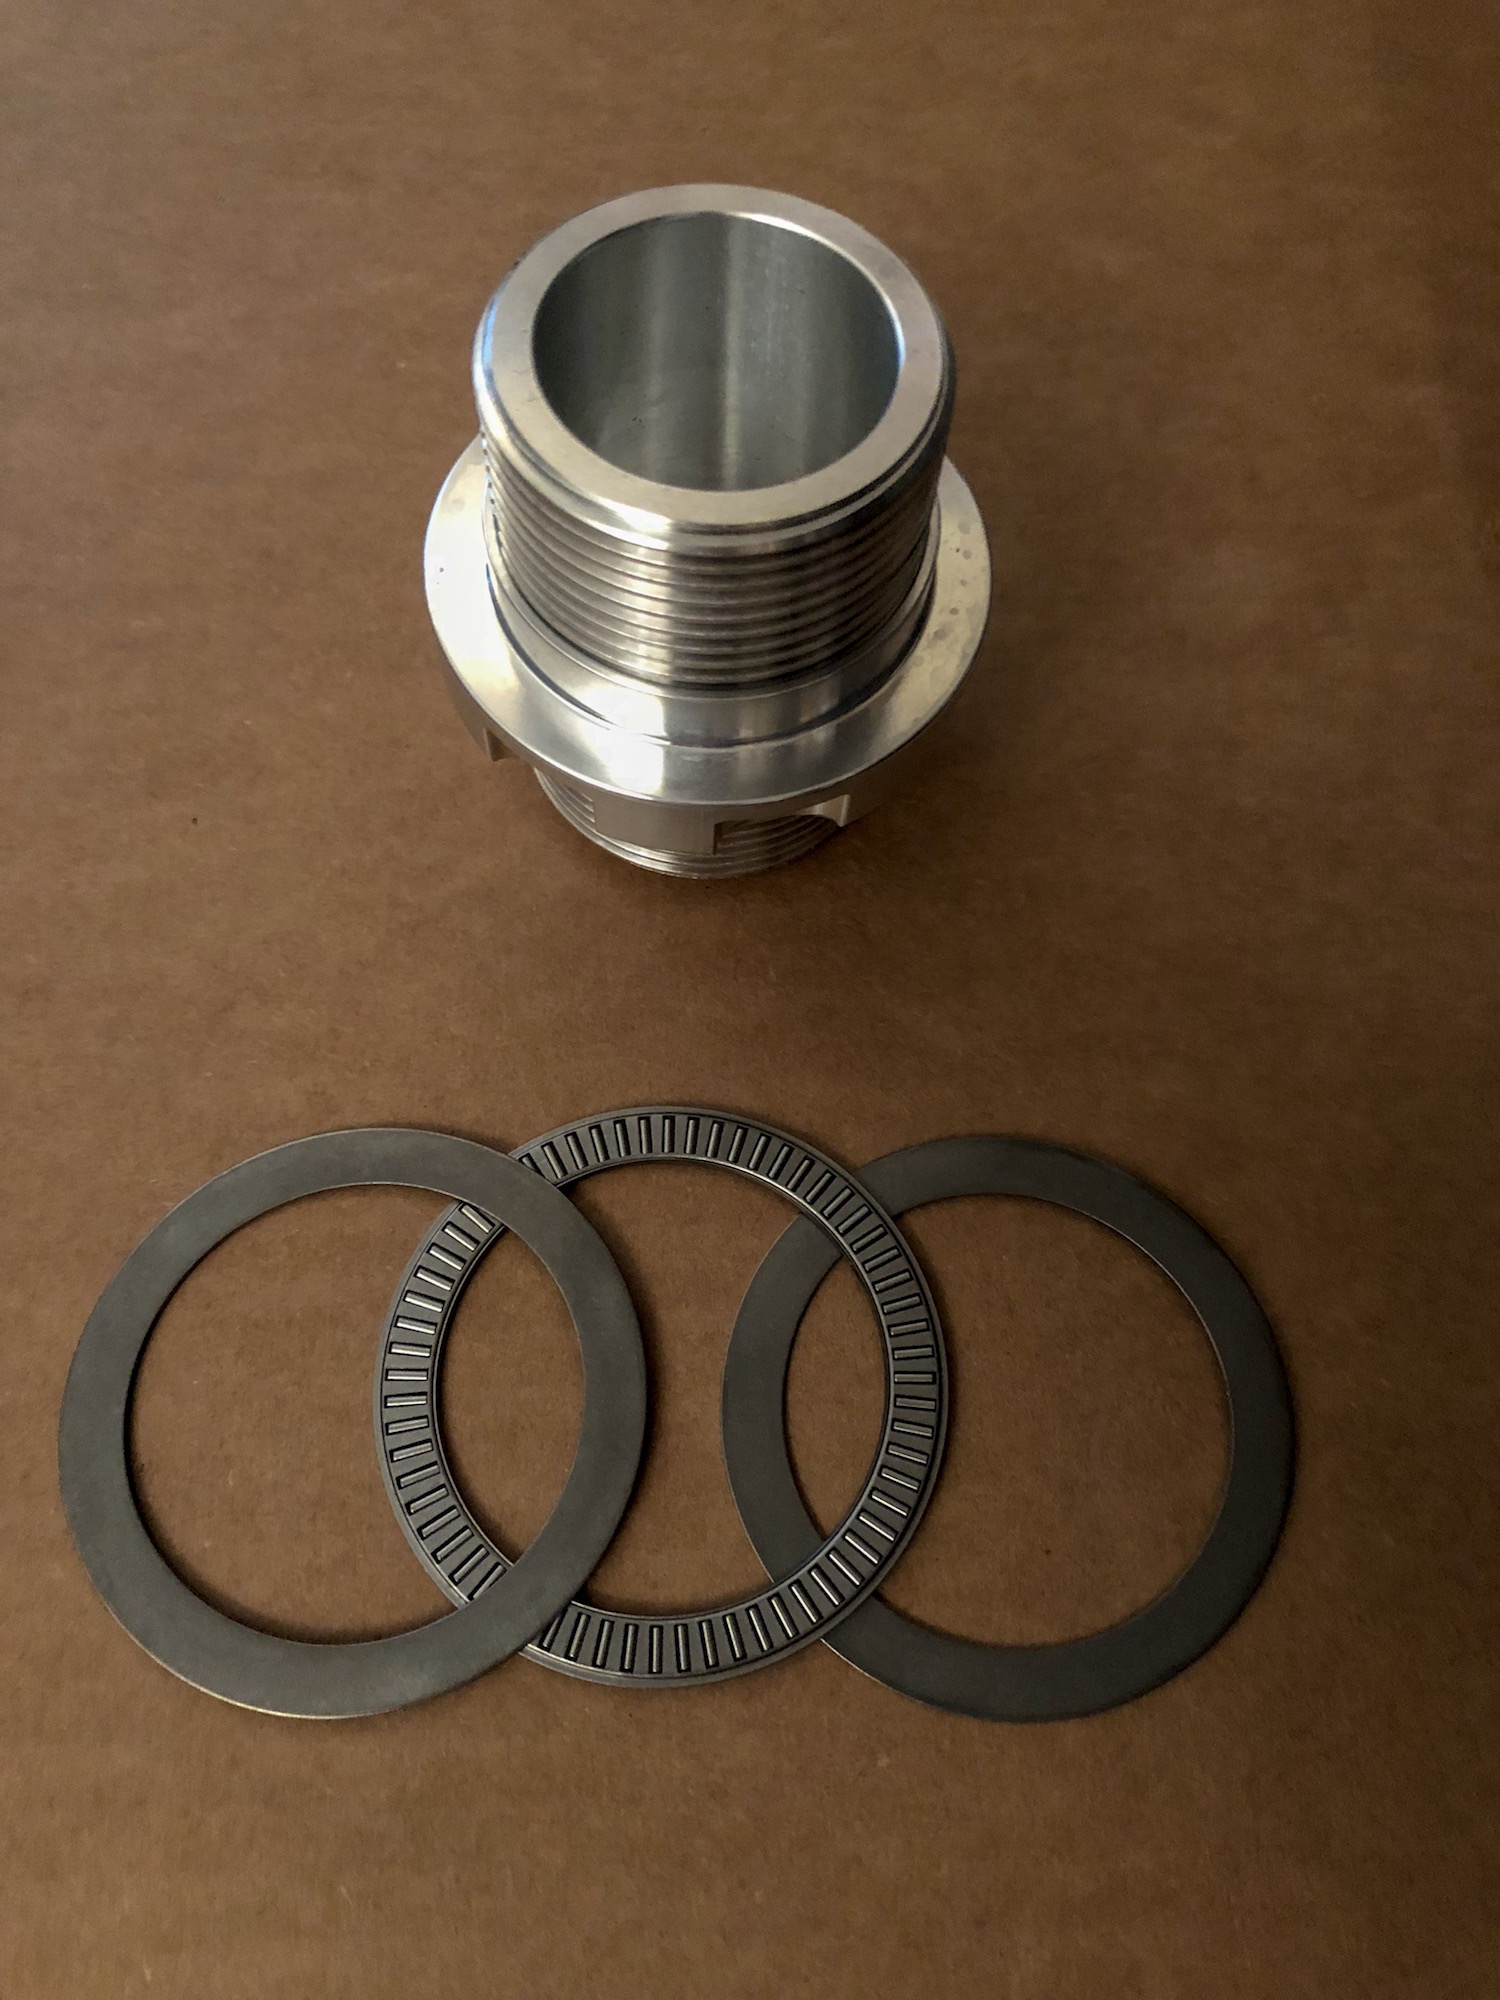
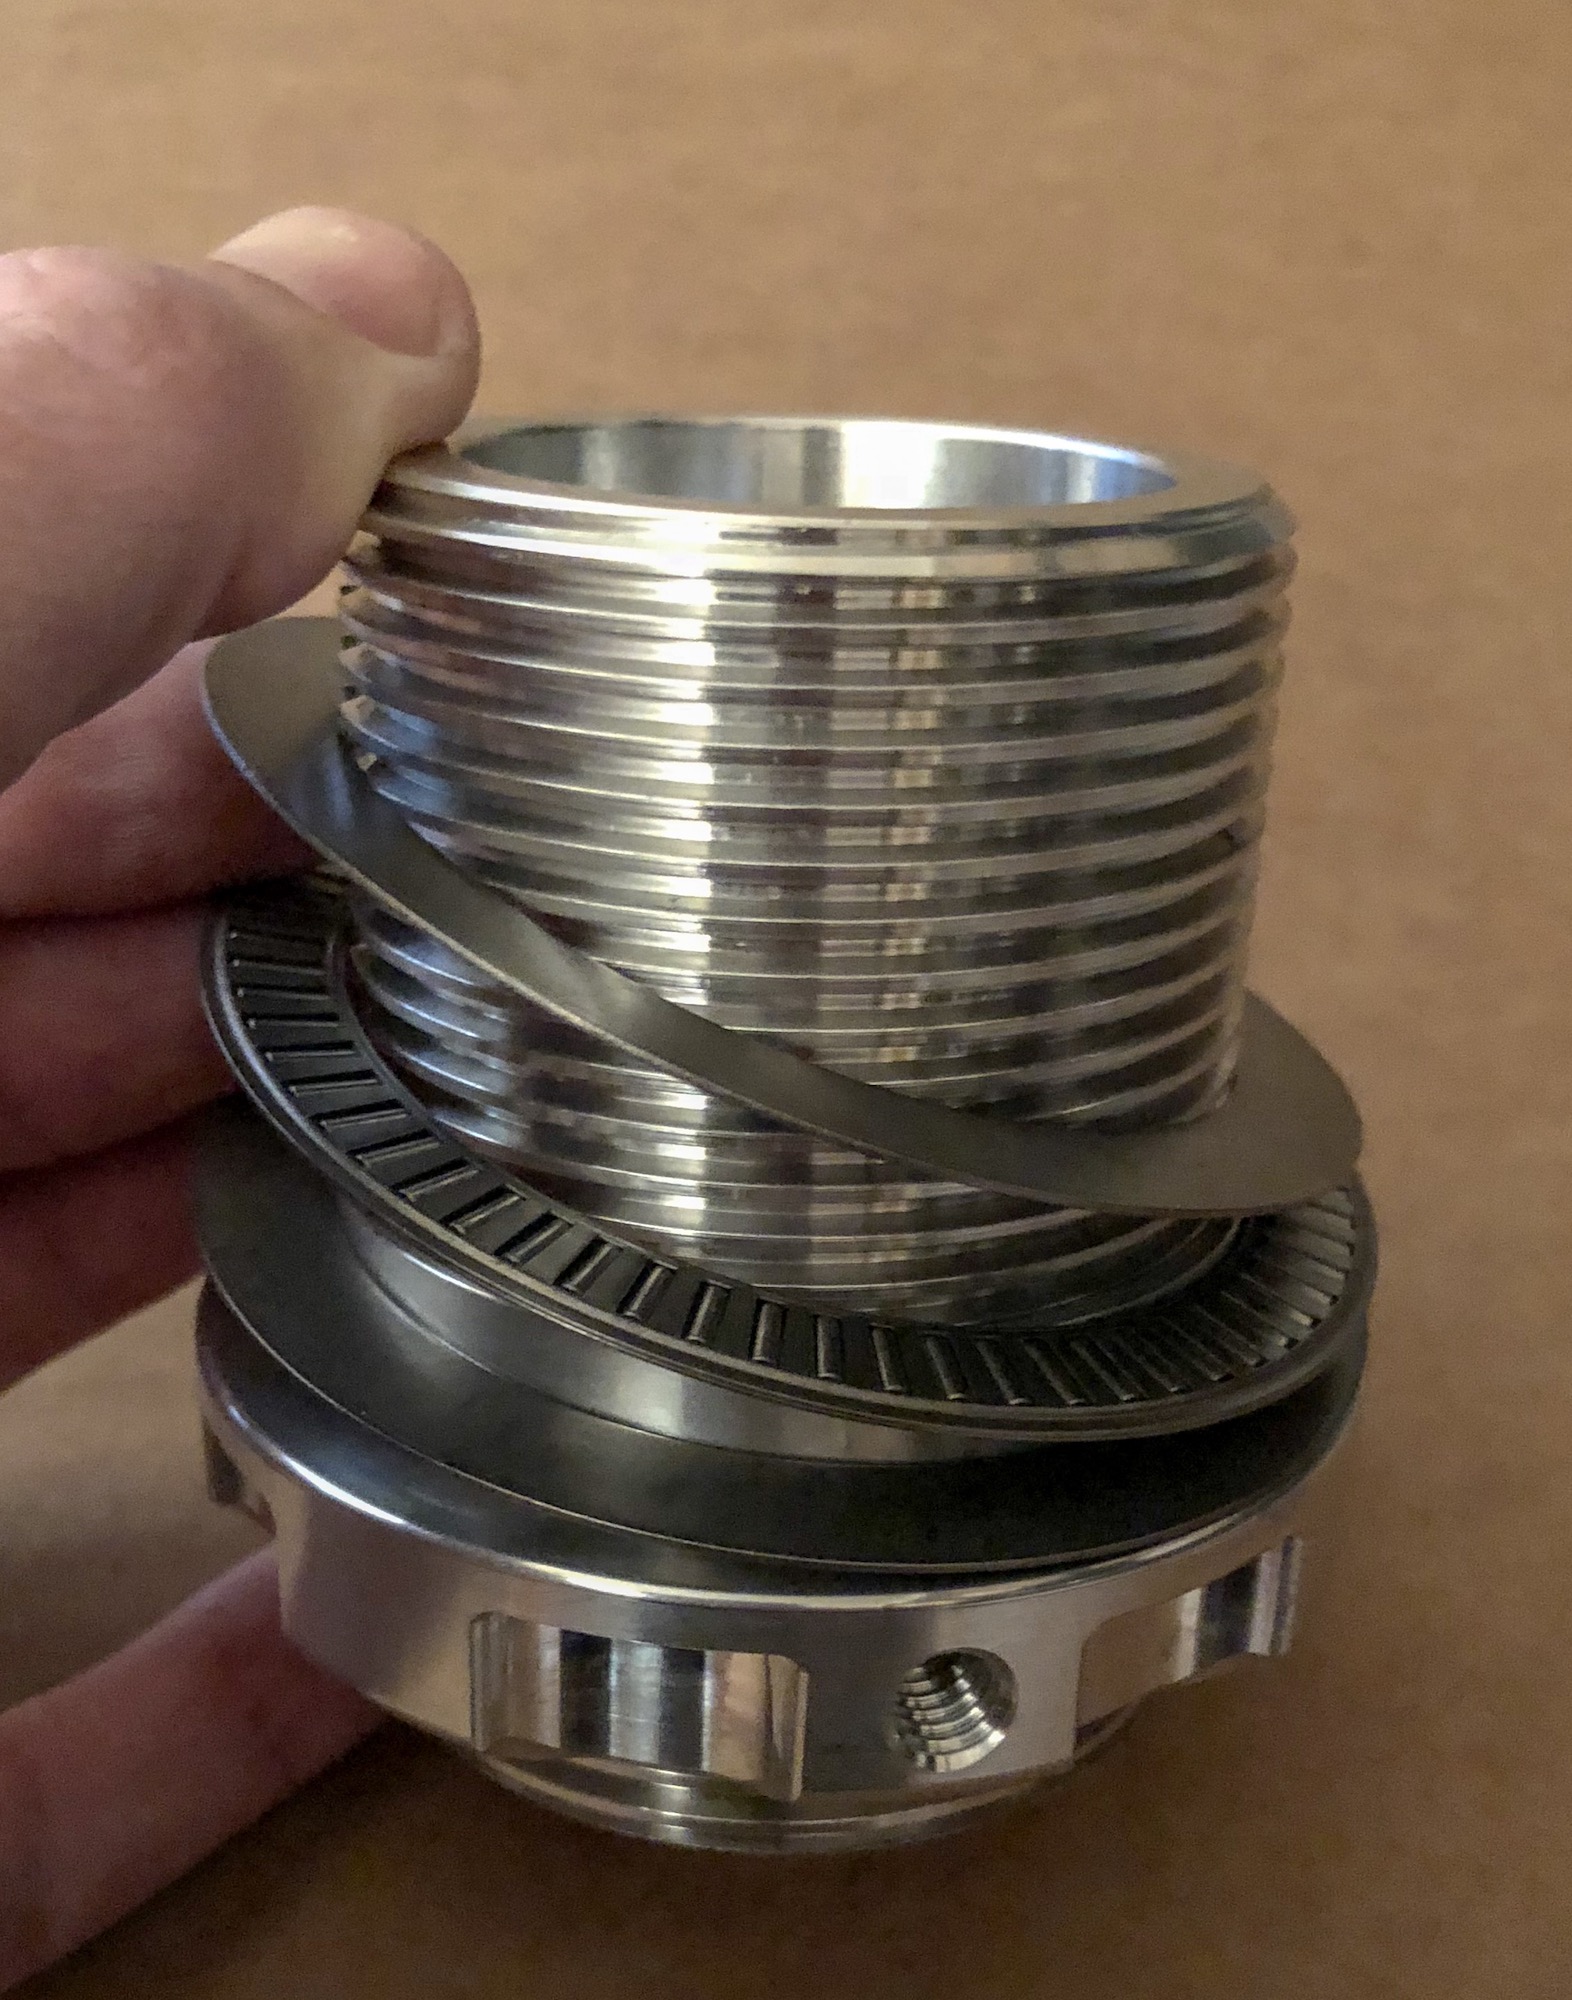
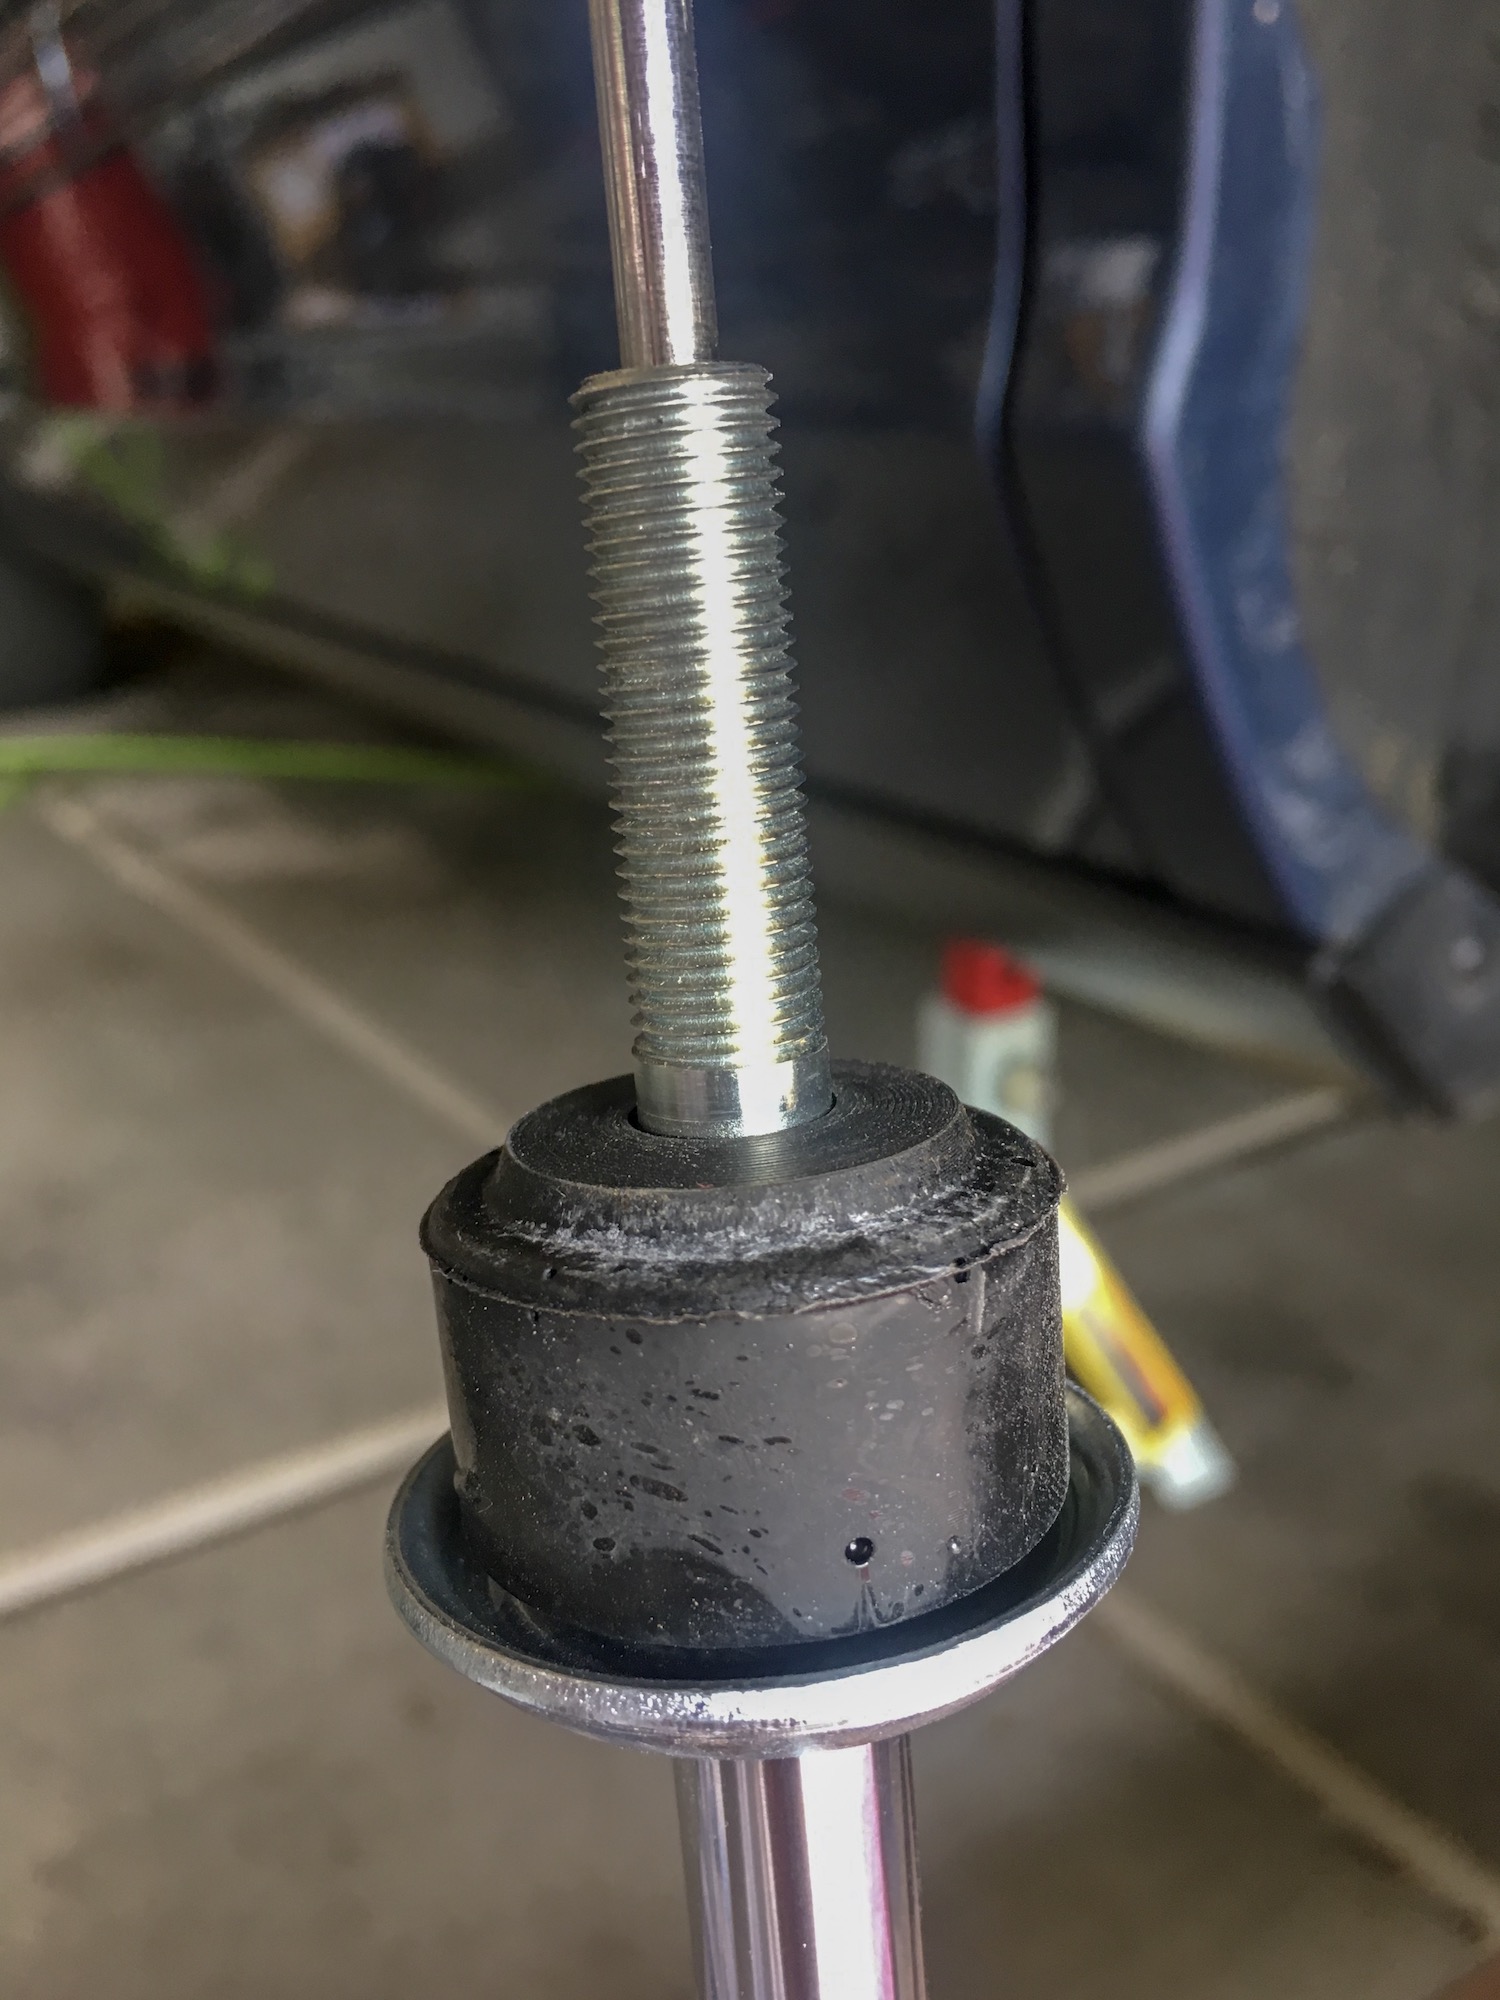
- We suggest replacing the lower Delrin spring washer (Item # 5) with the supplied QA1 thrust bearings. The orientation is as follows: washer / thrust bearing / washer and that goes on the bottom spring seat. QA1 suggests using Permatex® Anti-Seize lubricant on both sides of the flat washers as lubrication. DO install the Delrin spring washer (Item # 5) as instructed on the upper spring seat. See attached pics for reference:

- The standard front spring is an 8″ 650# rate spring. If you unpack and unbox everything at once (not suggested) just make sure you don’t mix up the front springs with the rear springs. Rear spring info is detailed below for reference.
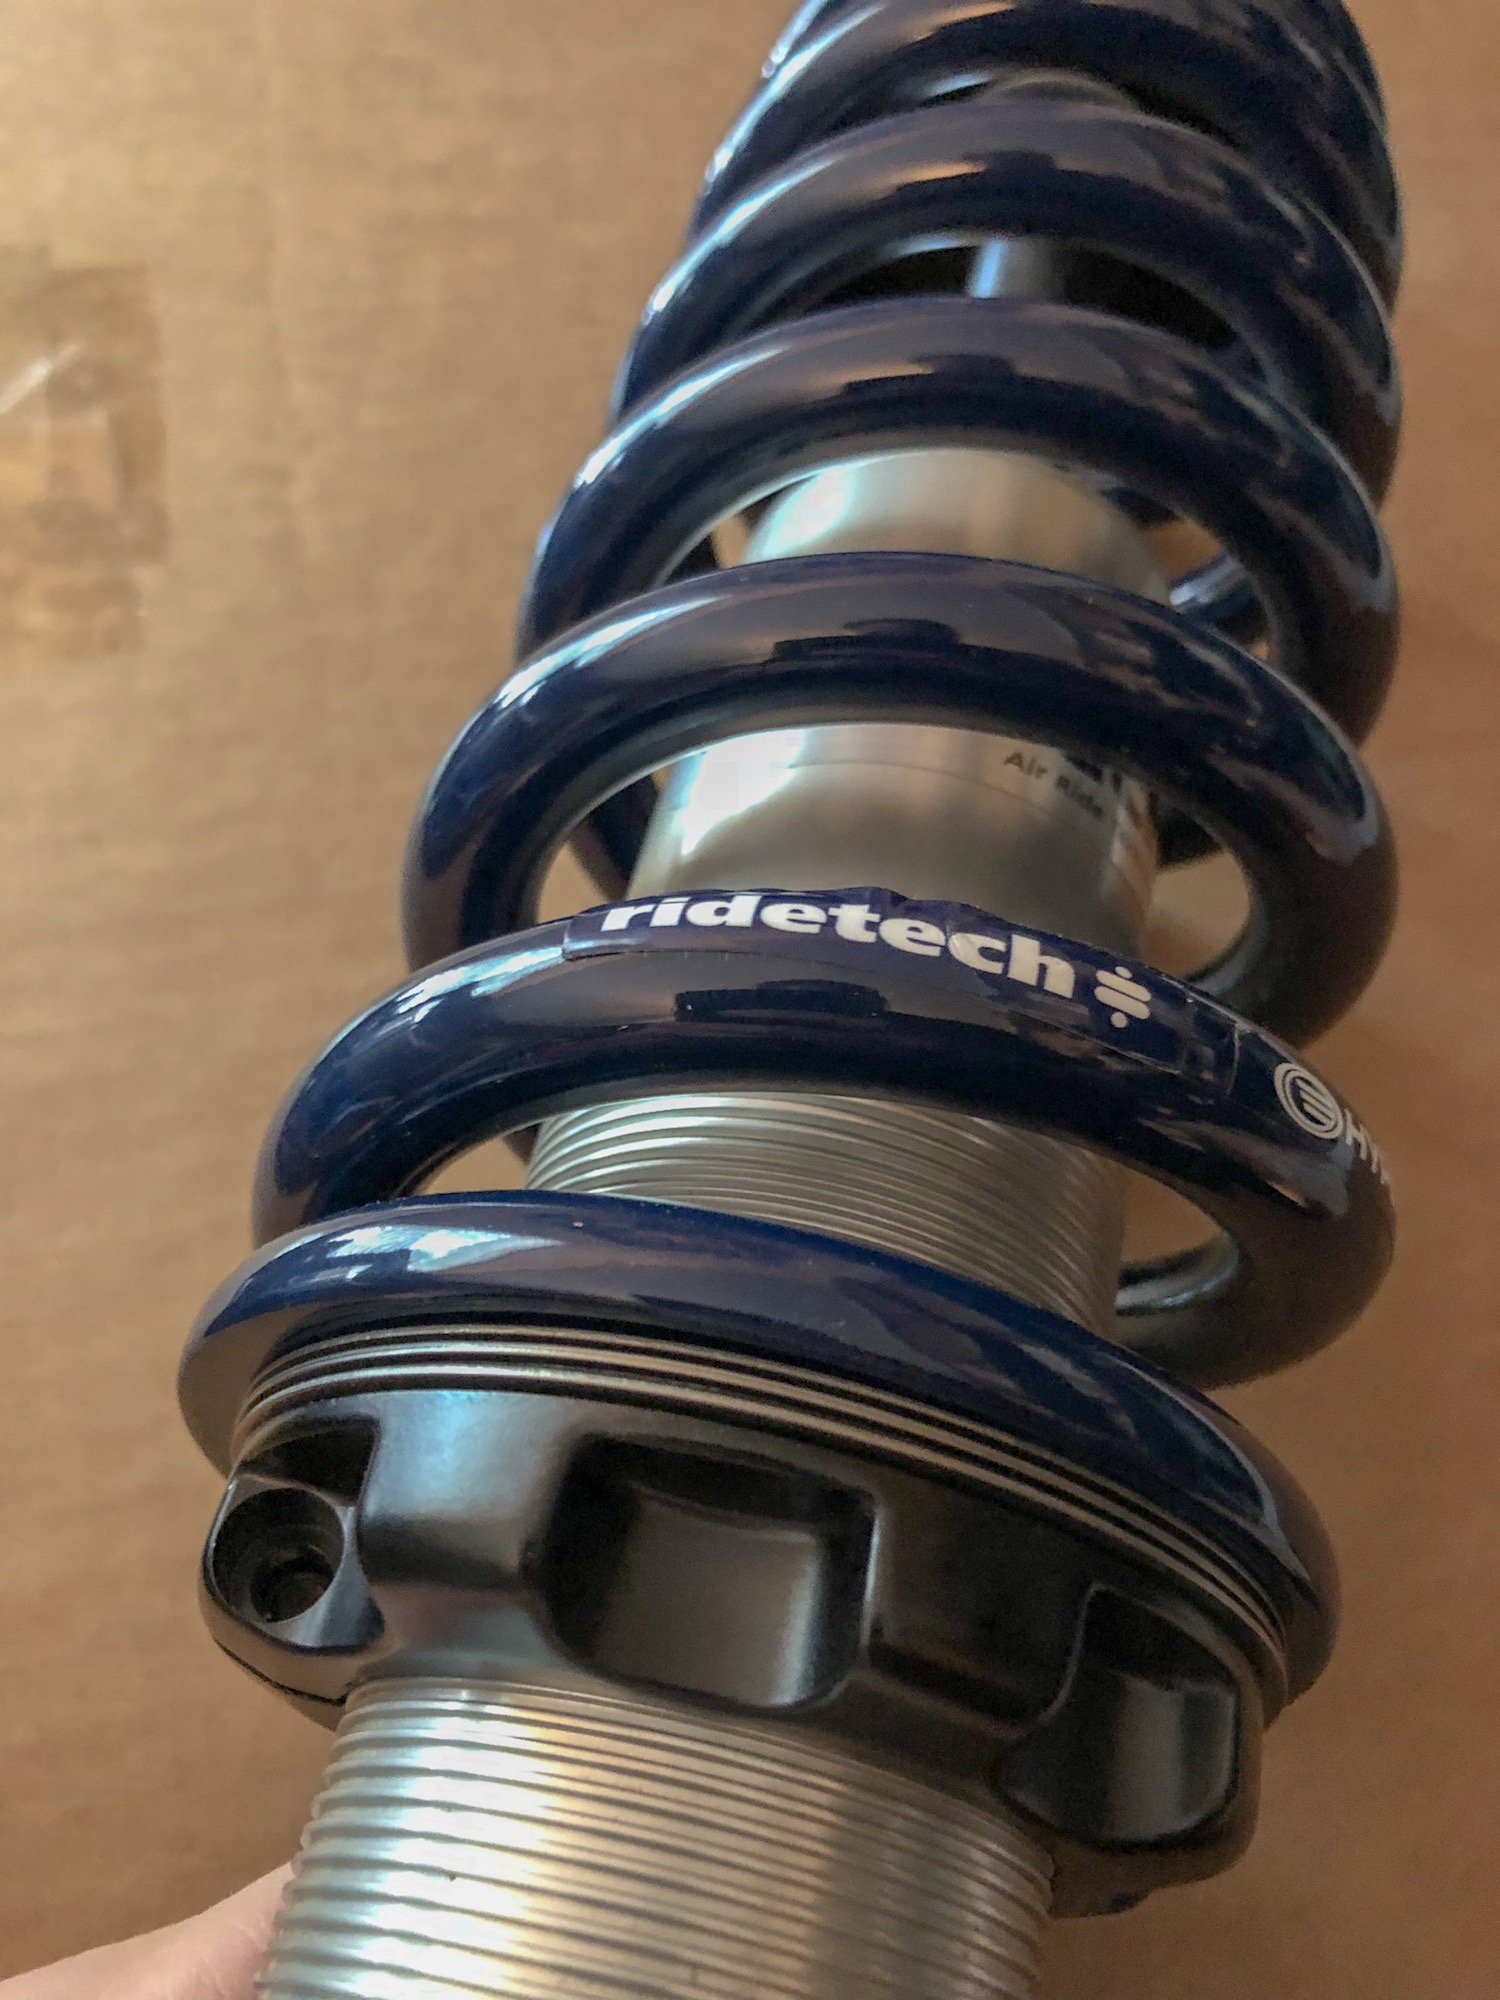
- When assembling the coil over assembly, just install the spring so the upper and lower perches are snug against the spring. We suggest applying some more Permatex® Anti-Seize on the shock body and once the car is adjusted to your desired height you go back in and wipe off any residual to keep the dirt and road grime from accumulating. You will adjust the bottom spring seat up to adjust ride height once they’re installed on the car. The springs are not progressive rate springs so you can just turn the bottom spring seat up to get to your desired ride height. It may be necessary to lift the car or remove the wheels and tires to make the adjustment easier. Turn the perch clockwise to raise the vehicle and counter clockwise to lower the vehicle. Once completed, make sure to tighten the set screw to keep the bottom perch from moving. We recommend measuring from the bottom of the frame to the ground to accurately check ride height. You may have to come back and re-adjust the front once the rear is installed.
- Ridetech does not include any torque specs with their system. Some people believe in torquing, others don’t. If you’re looking at torque specs you can follow Granger’s suggestions on the following hardware:
- 5/16” bolts Gr 5 (for the upper stainless eyelet plate) -15 ft/lbs
- 7/16” bolts Gr 5 (eyelet bracket to upper plate) – 40 ft/lbs
- ½” bolts Gr 8 (shock thru bolts) – 70 ft/lbs
- The adjustment knob needs to be located on the top facing outwards for easier adjustment. We suggest adjusting to full firm and then backing off 7 clicks to start. You can adjust from there to your personal preference.
- The Ridetech system was originally designed to be used with the early 03/04 aluminum lower control arms. We’ve had a couple customers who had later model cars or aftermarket replacement lower control arms that were stamped steel and the spacers and bolts supplied with the Ridetech system did not work as shipped. The easy way to fix this issue is grind down the spacers so they’re the same thickness as the control arms they’re slipping into. If you wanted to replace your lower control arms with aluminum versions you can but that’s definitely not needed.
- If you are lowering the car, you will need to install the SPC camber bolt kit to give yourself ample camber adjustment. That kit is included in the lowering coil over system and instructions for installation can be found here: SPC Camber Bolt Installation Tips


Rear:
*If you have air suspension flip off the switch in the trunk located on the driver’s side*
1.) Lift the rear end and put the car on jack stands. Leave the jack under the center of the differential to give support. Remove the wheels and tires so you have ample room to access everything.
2.) Remove the stock shocks making sure to keep the jack under the center of the differential housing.
*If you have rear air suspension (and are keeping it) skip to step 6*
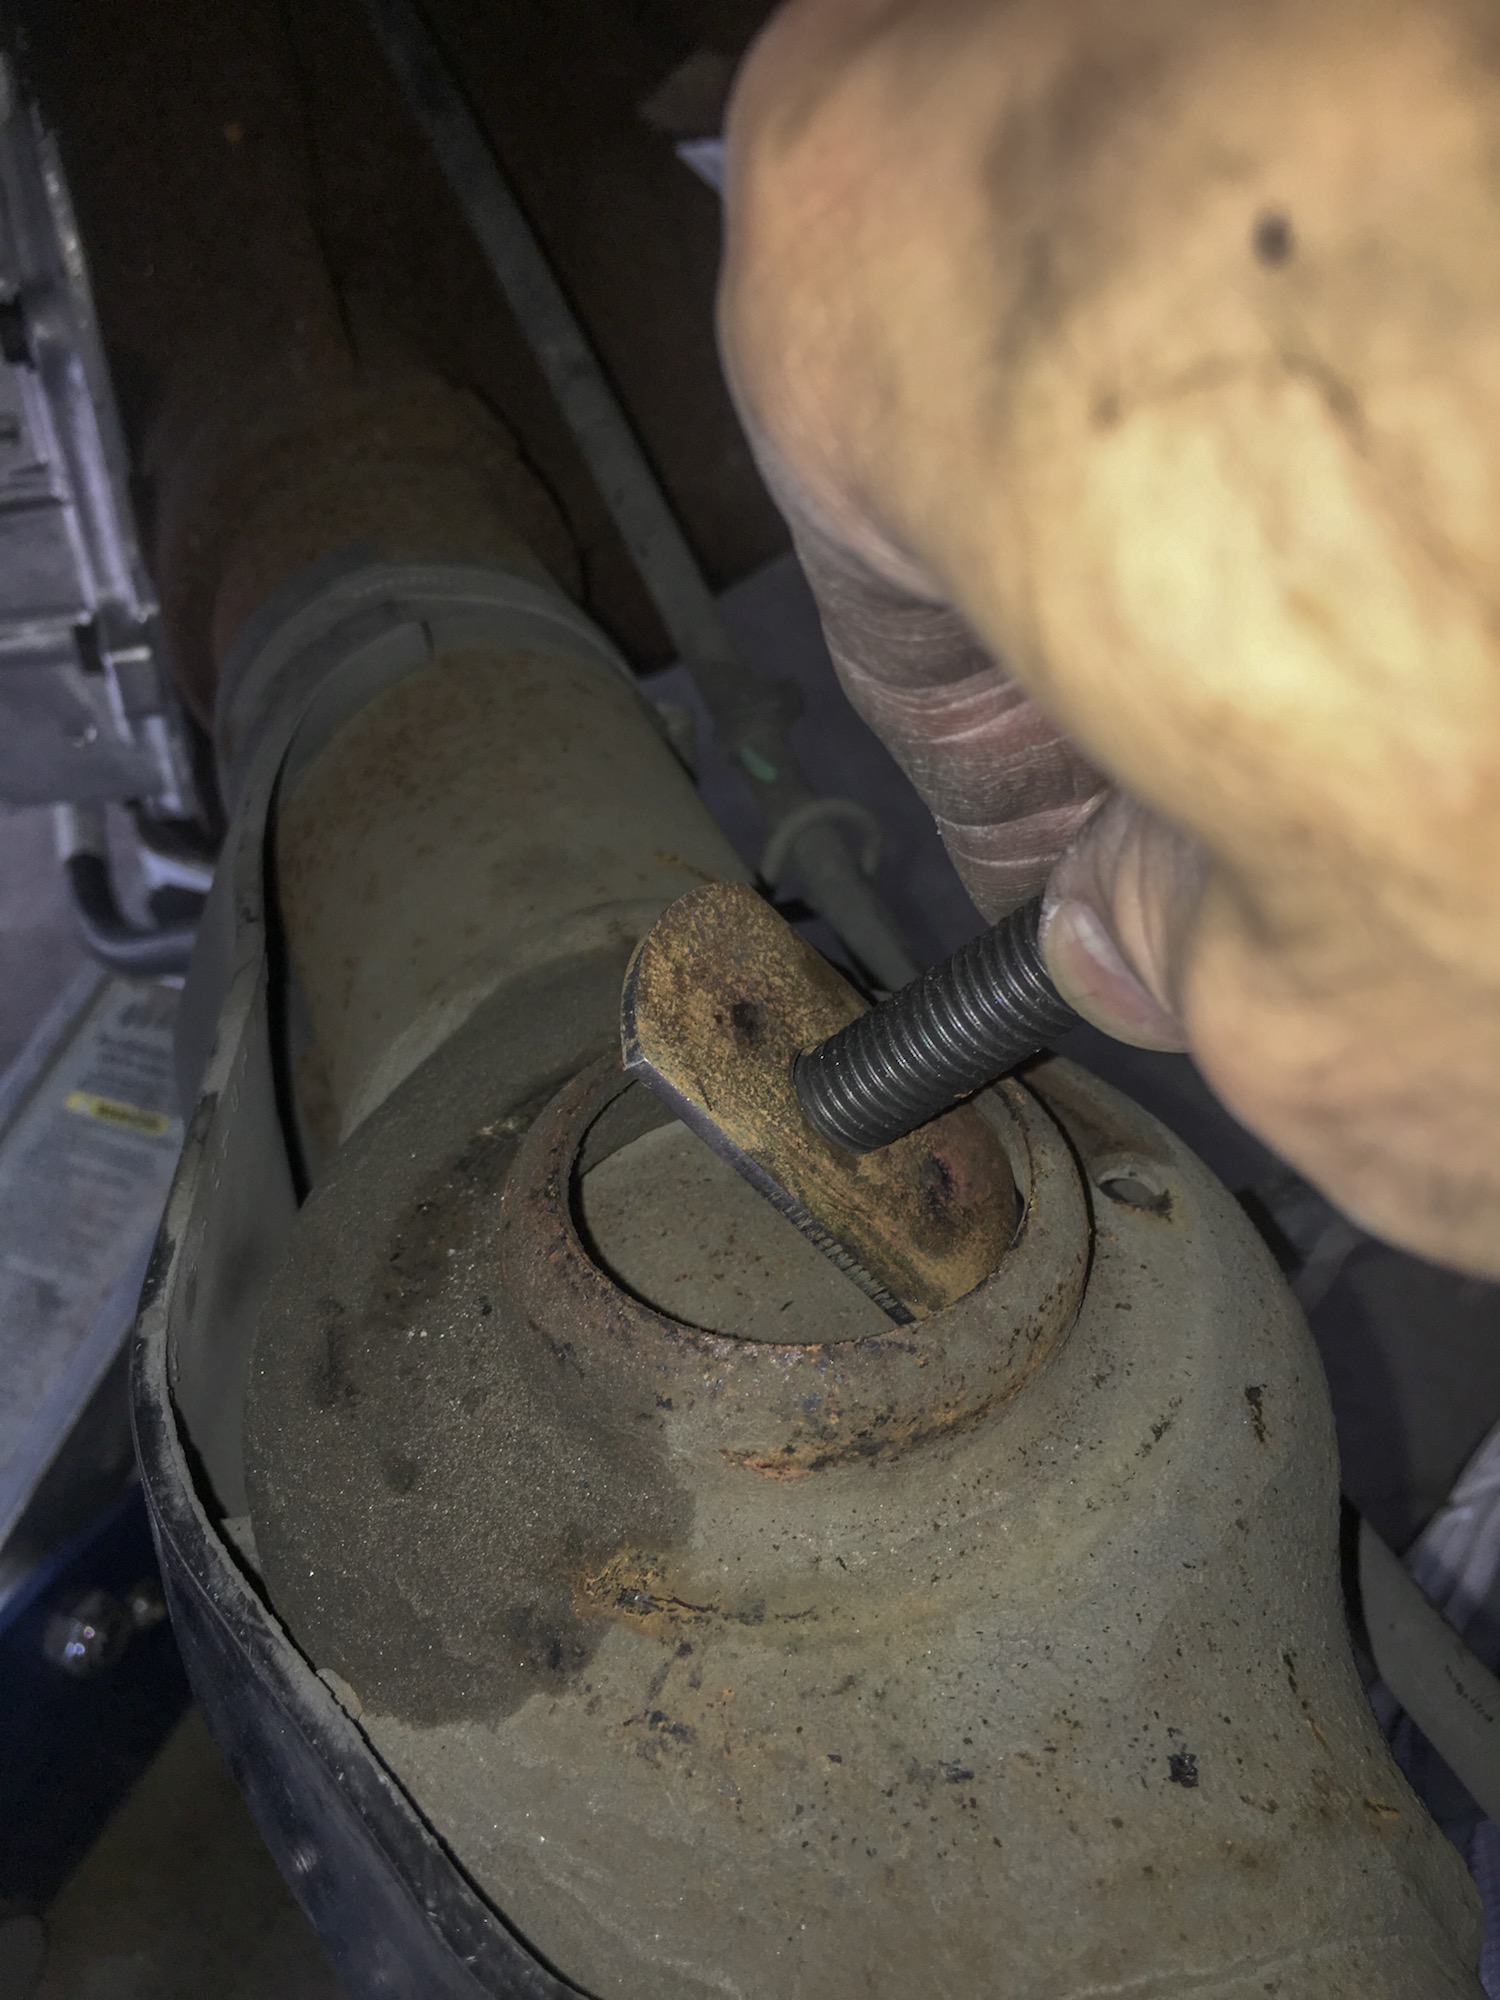
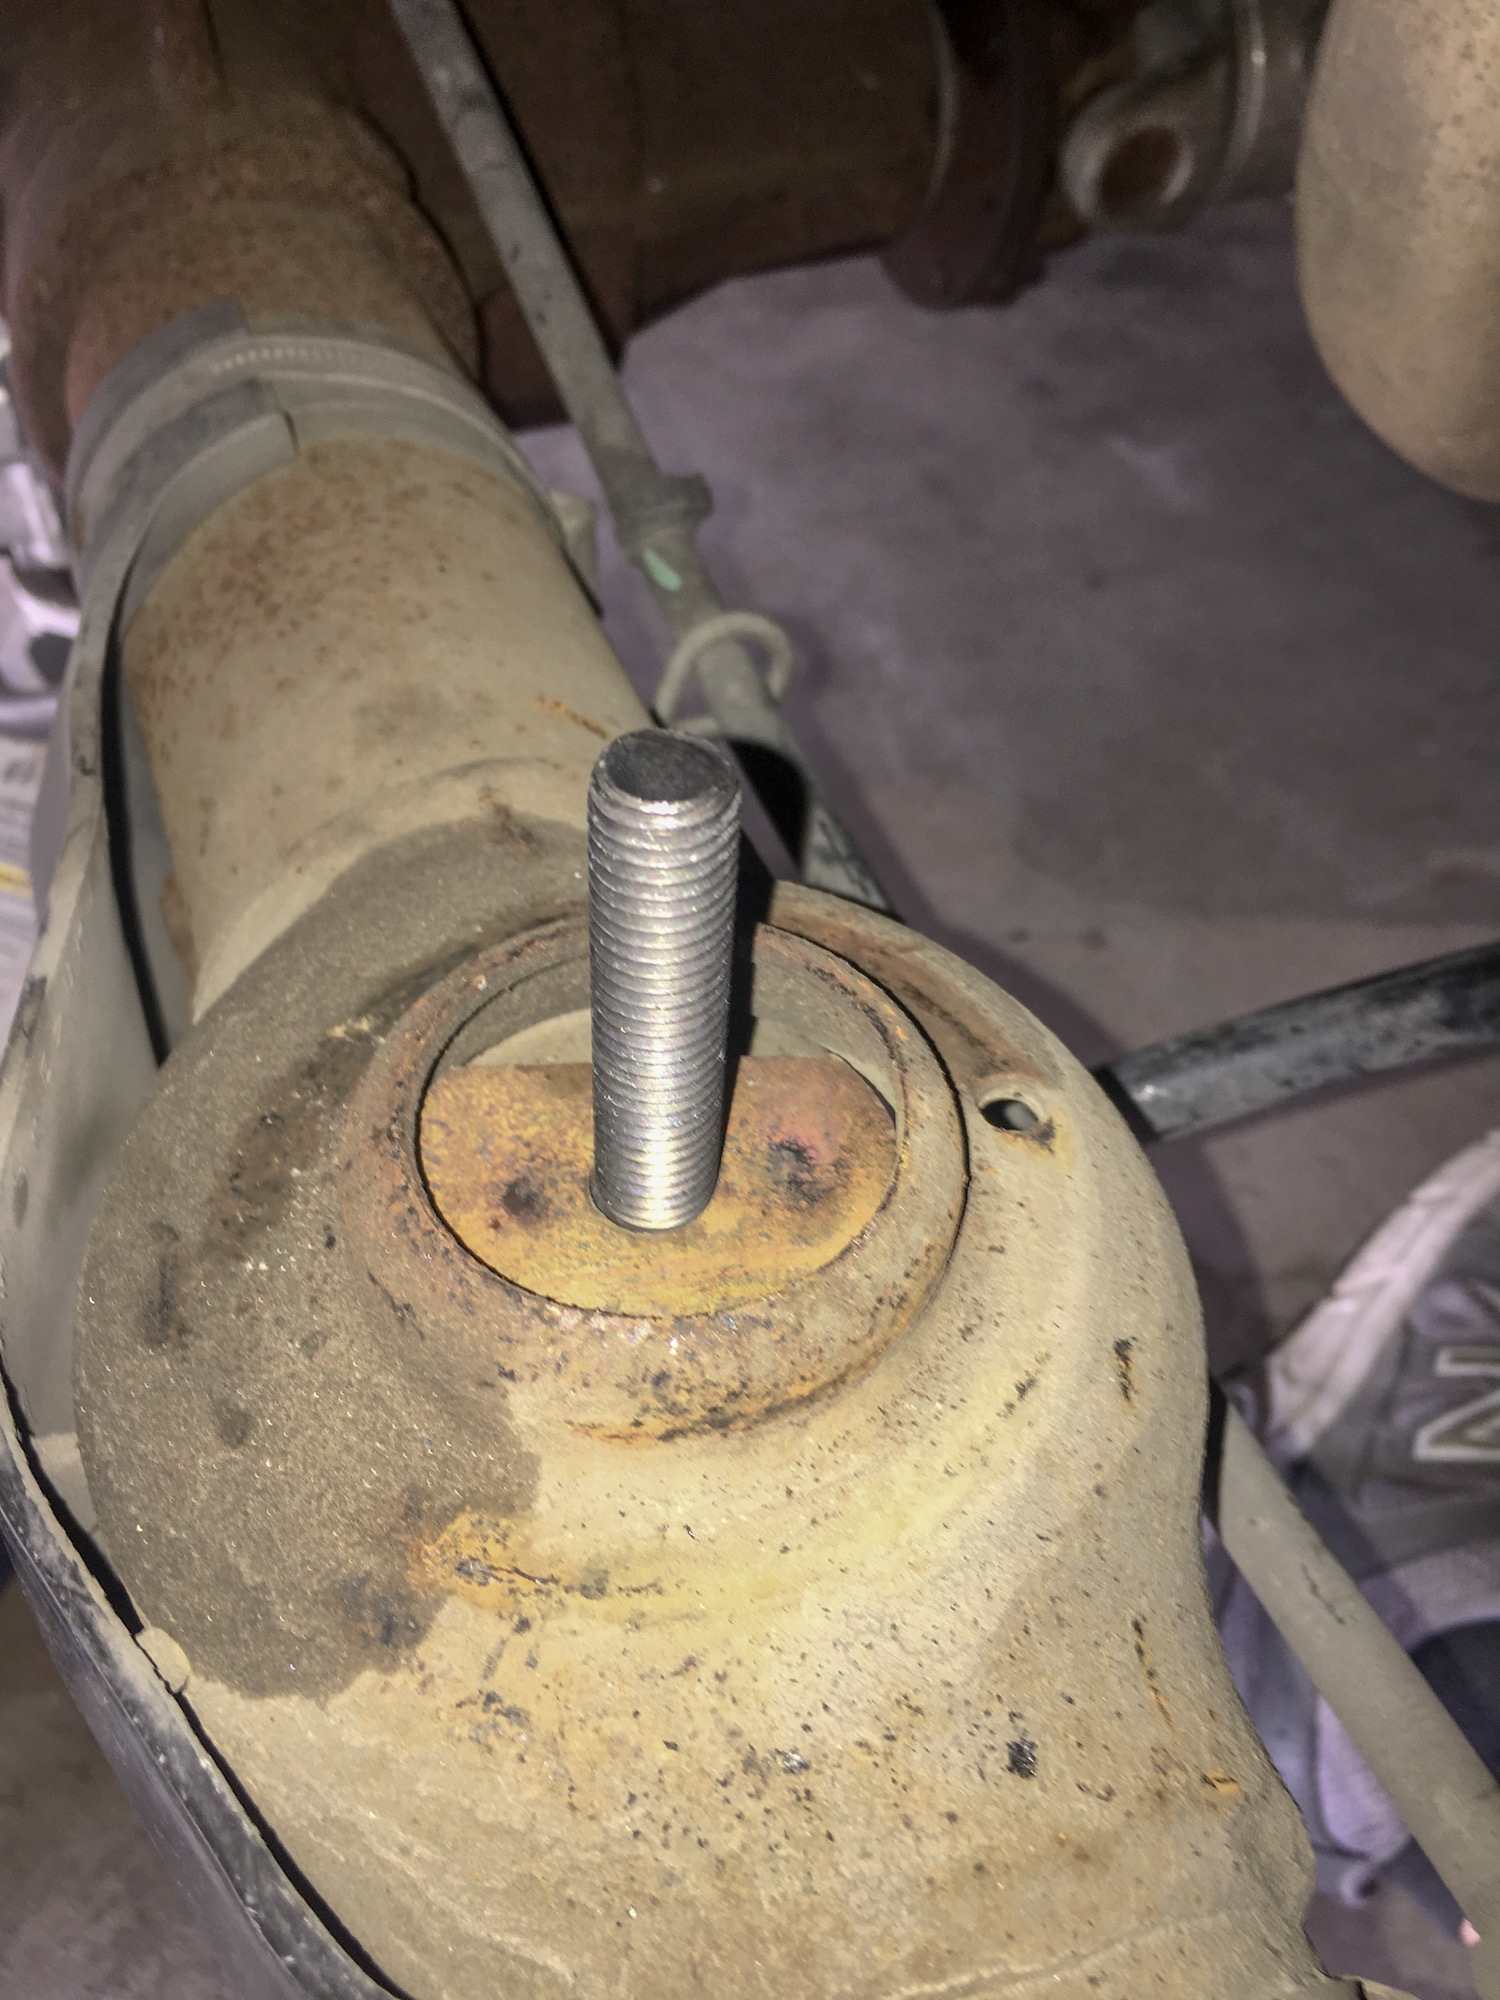
3.) Slowly (AND CAREFULLY) lower the rear differential until the springs pop out of their seats. On the top of the differential housing you’ll find the lower spring seats. Take the tabbed bolt and install into the hole in the lower spring seat on the differential housing. Using a screwdriver to hold the bolt, take the adjustable spring perch and insert the bolt into the hole on the bottom. Tighten the nut.
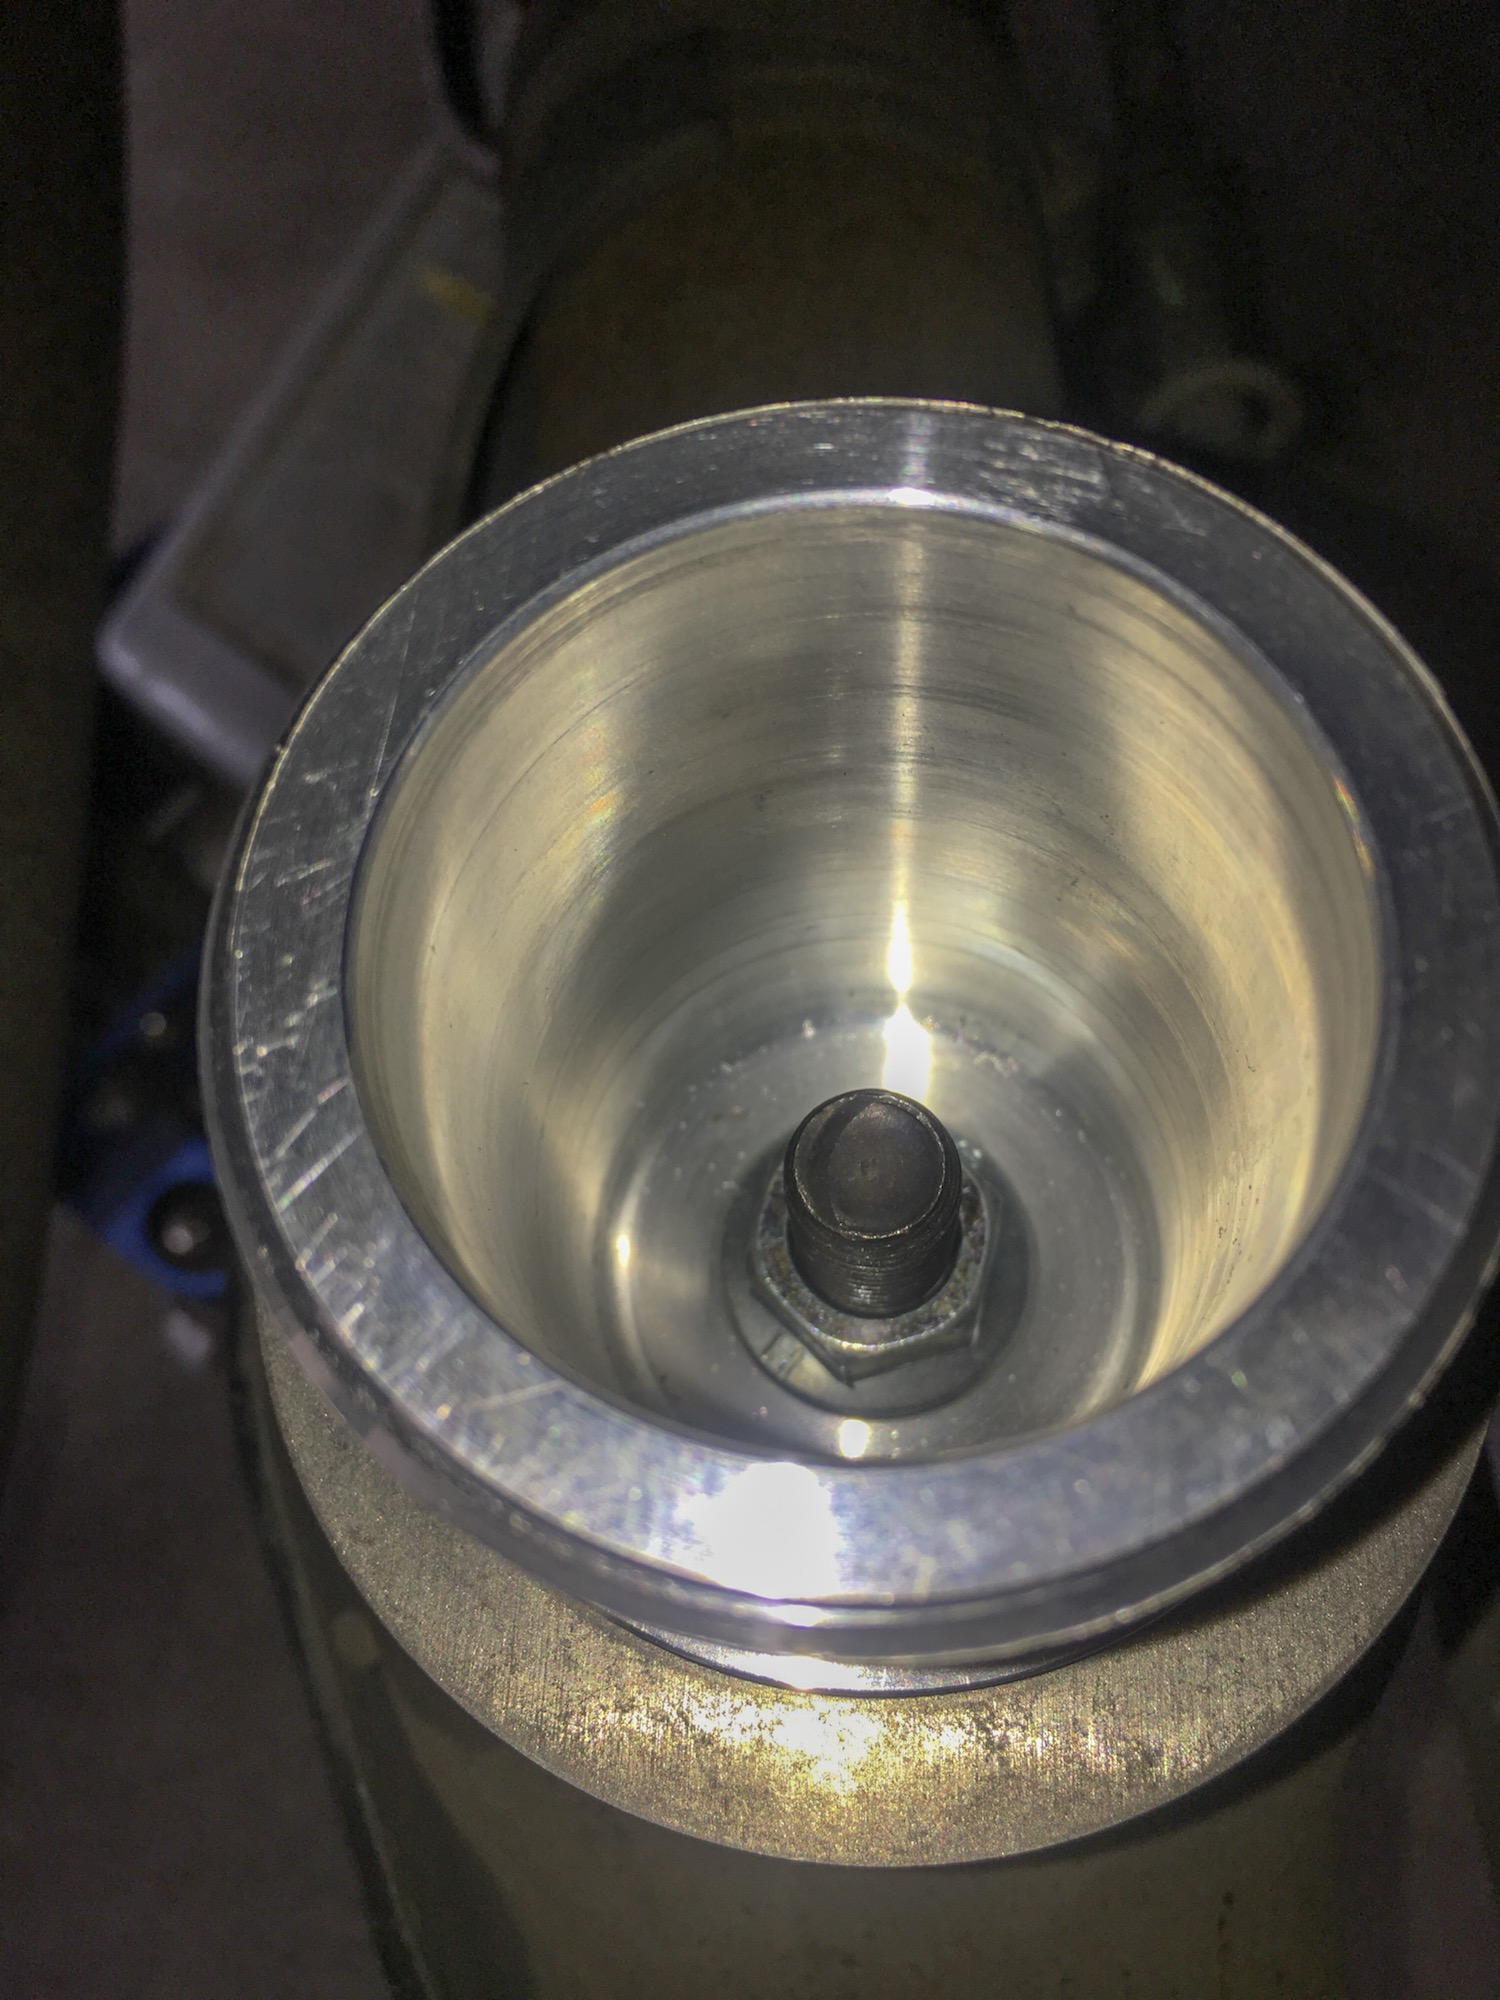
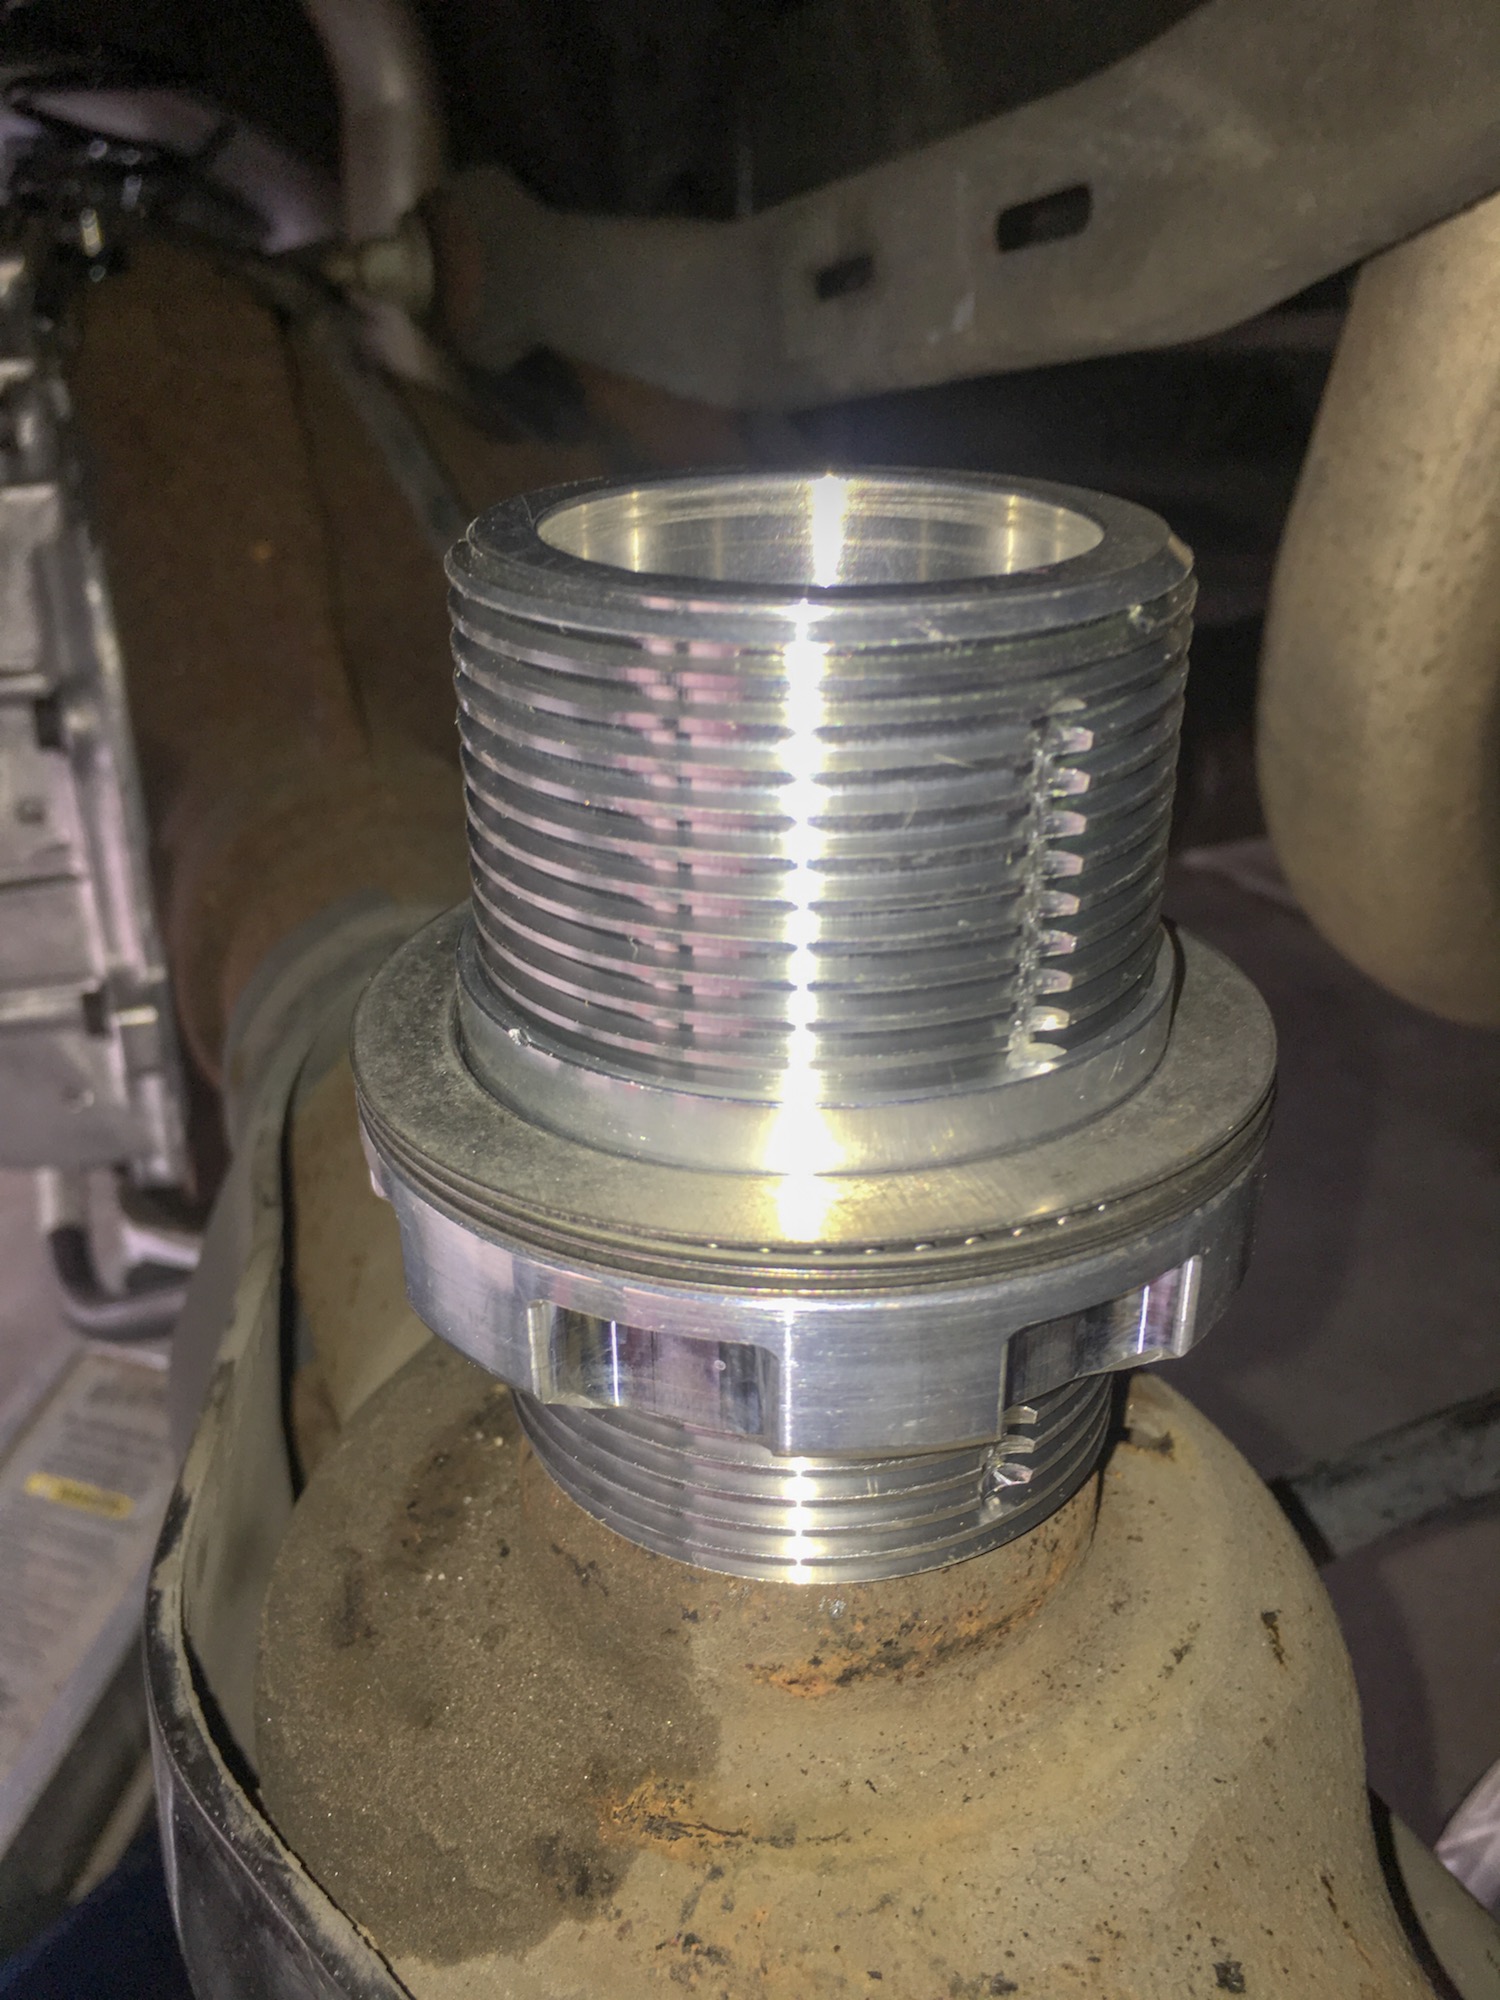
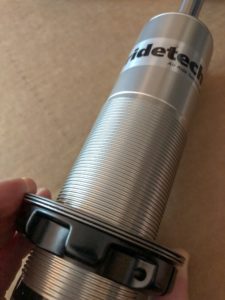
4.) Take the thrust bearings and set onto the lower spring perch. The orientation is the same as the front: washer / thrust bearing / washer. Below is a picture of the completed perch with thrust bearings installed. Be sure to apply Permatex® Anti-Seize on both sides of the flat washers for proper lubrication.
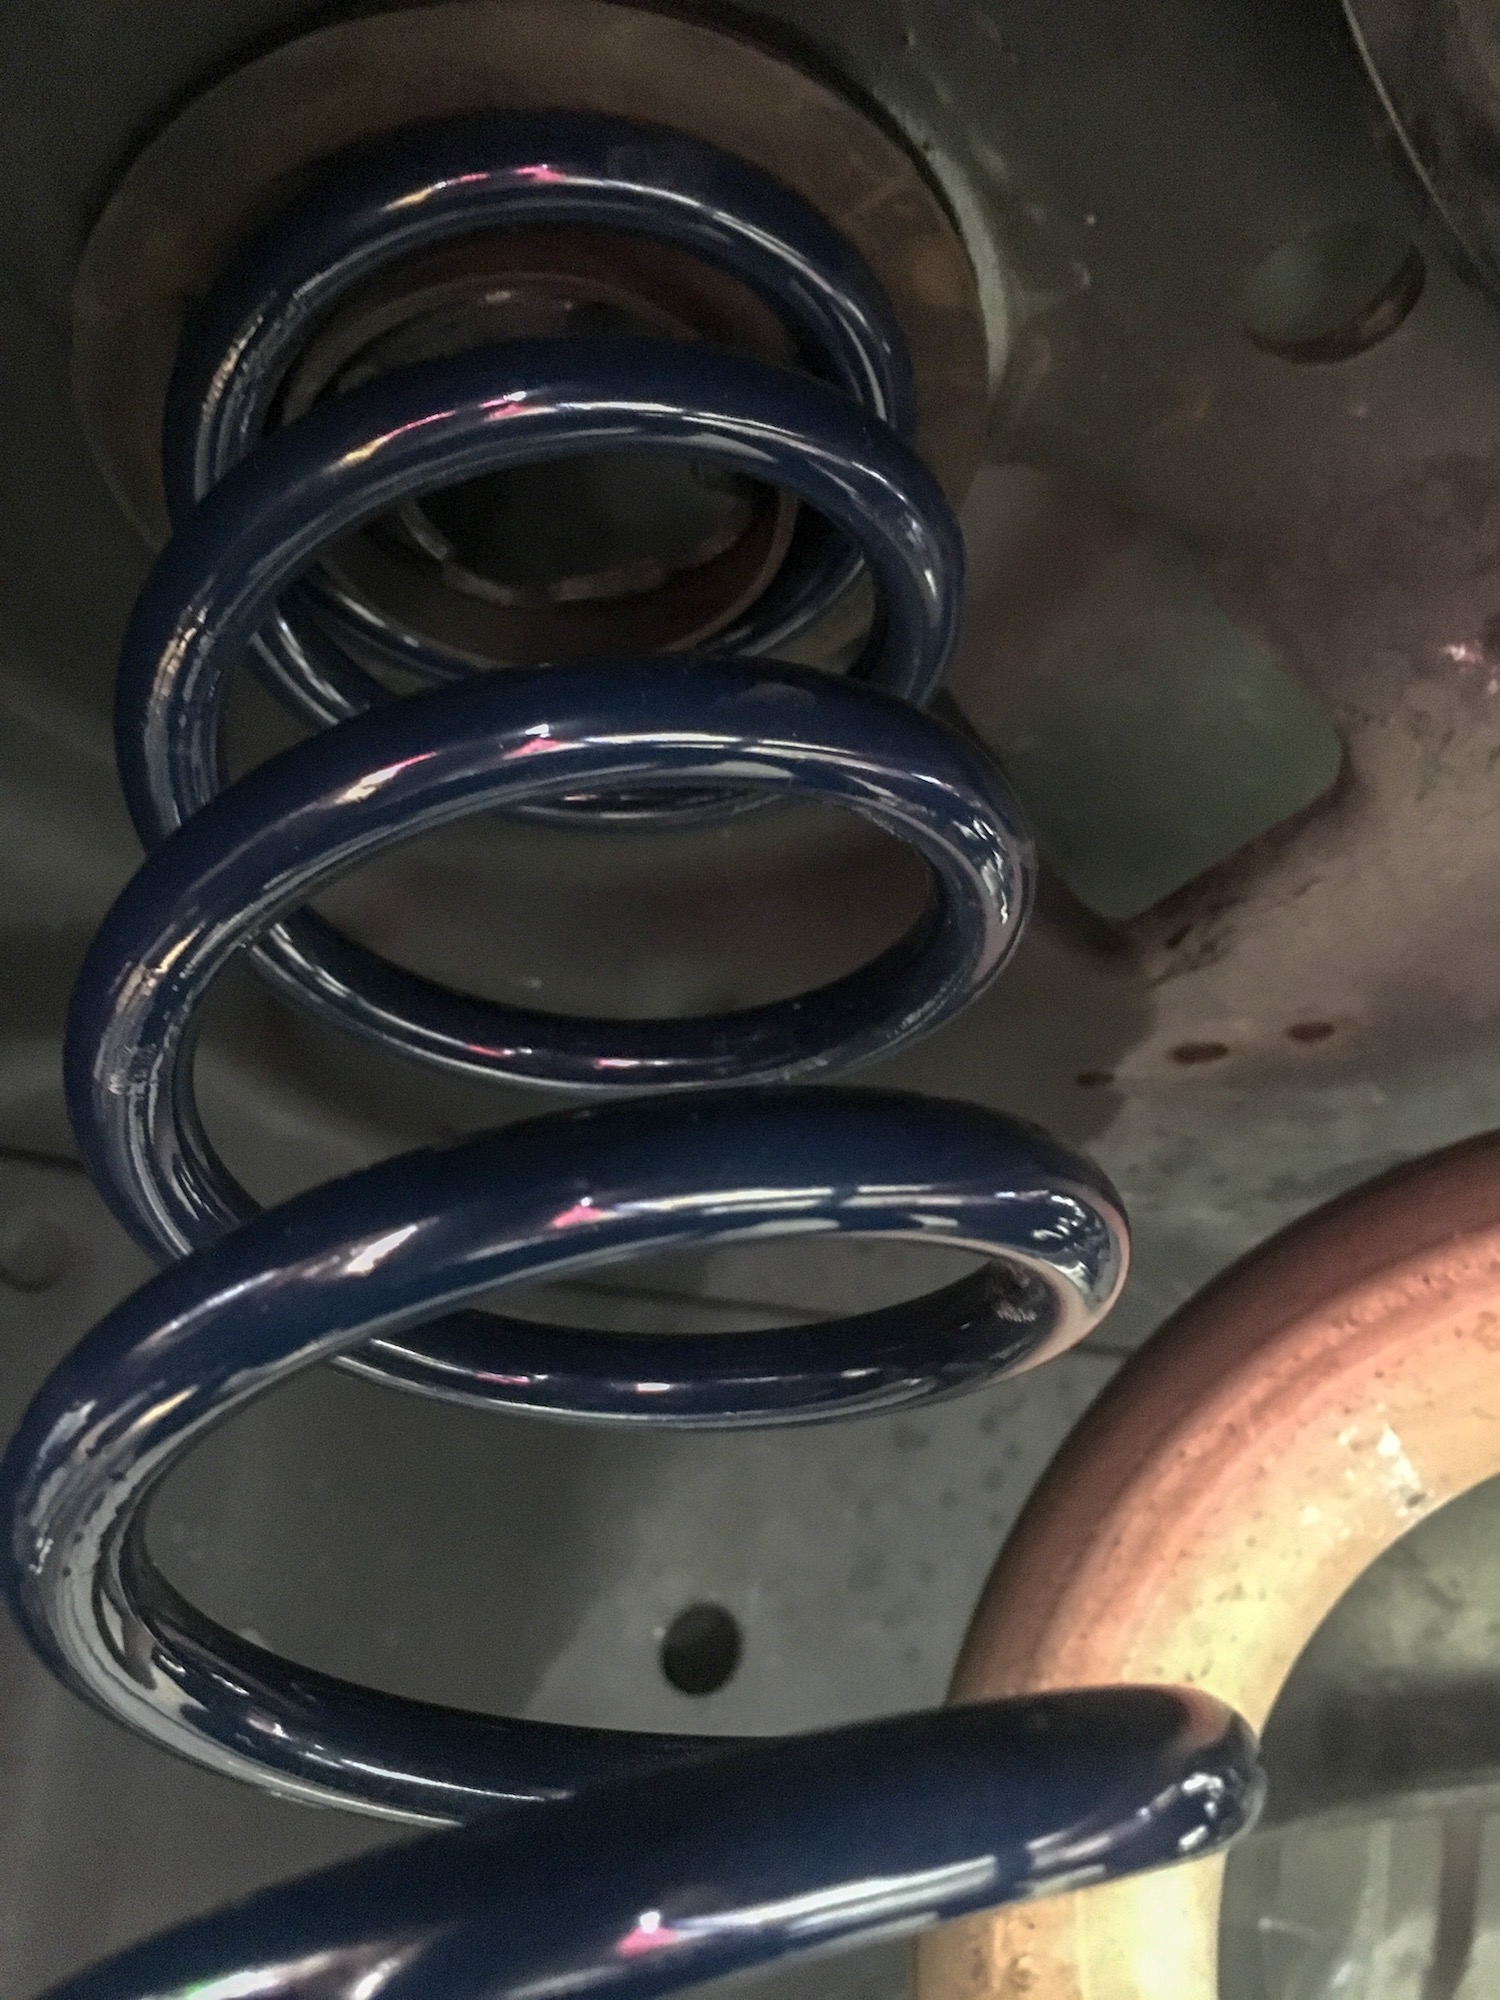
5.) Take the supplied spring (Our standard kit is a 10″ long 200# spring) and install over the adjustable perch. Use the stock Ford upper spring isolator and place it on the top of the spring. Slowly lift the rear differential housing using the jack under the center of the pumpkin until the springs make contact with the upper seat.

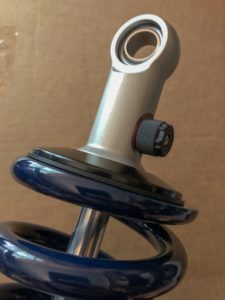
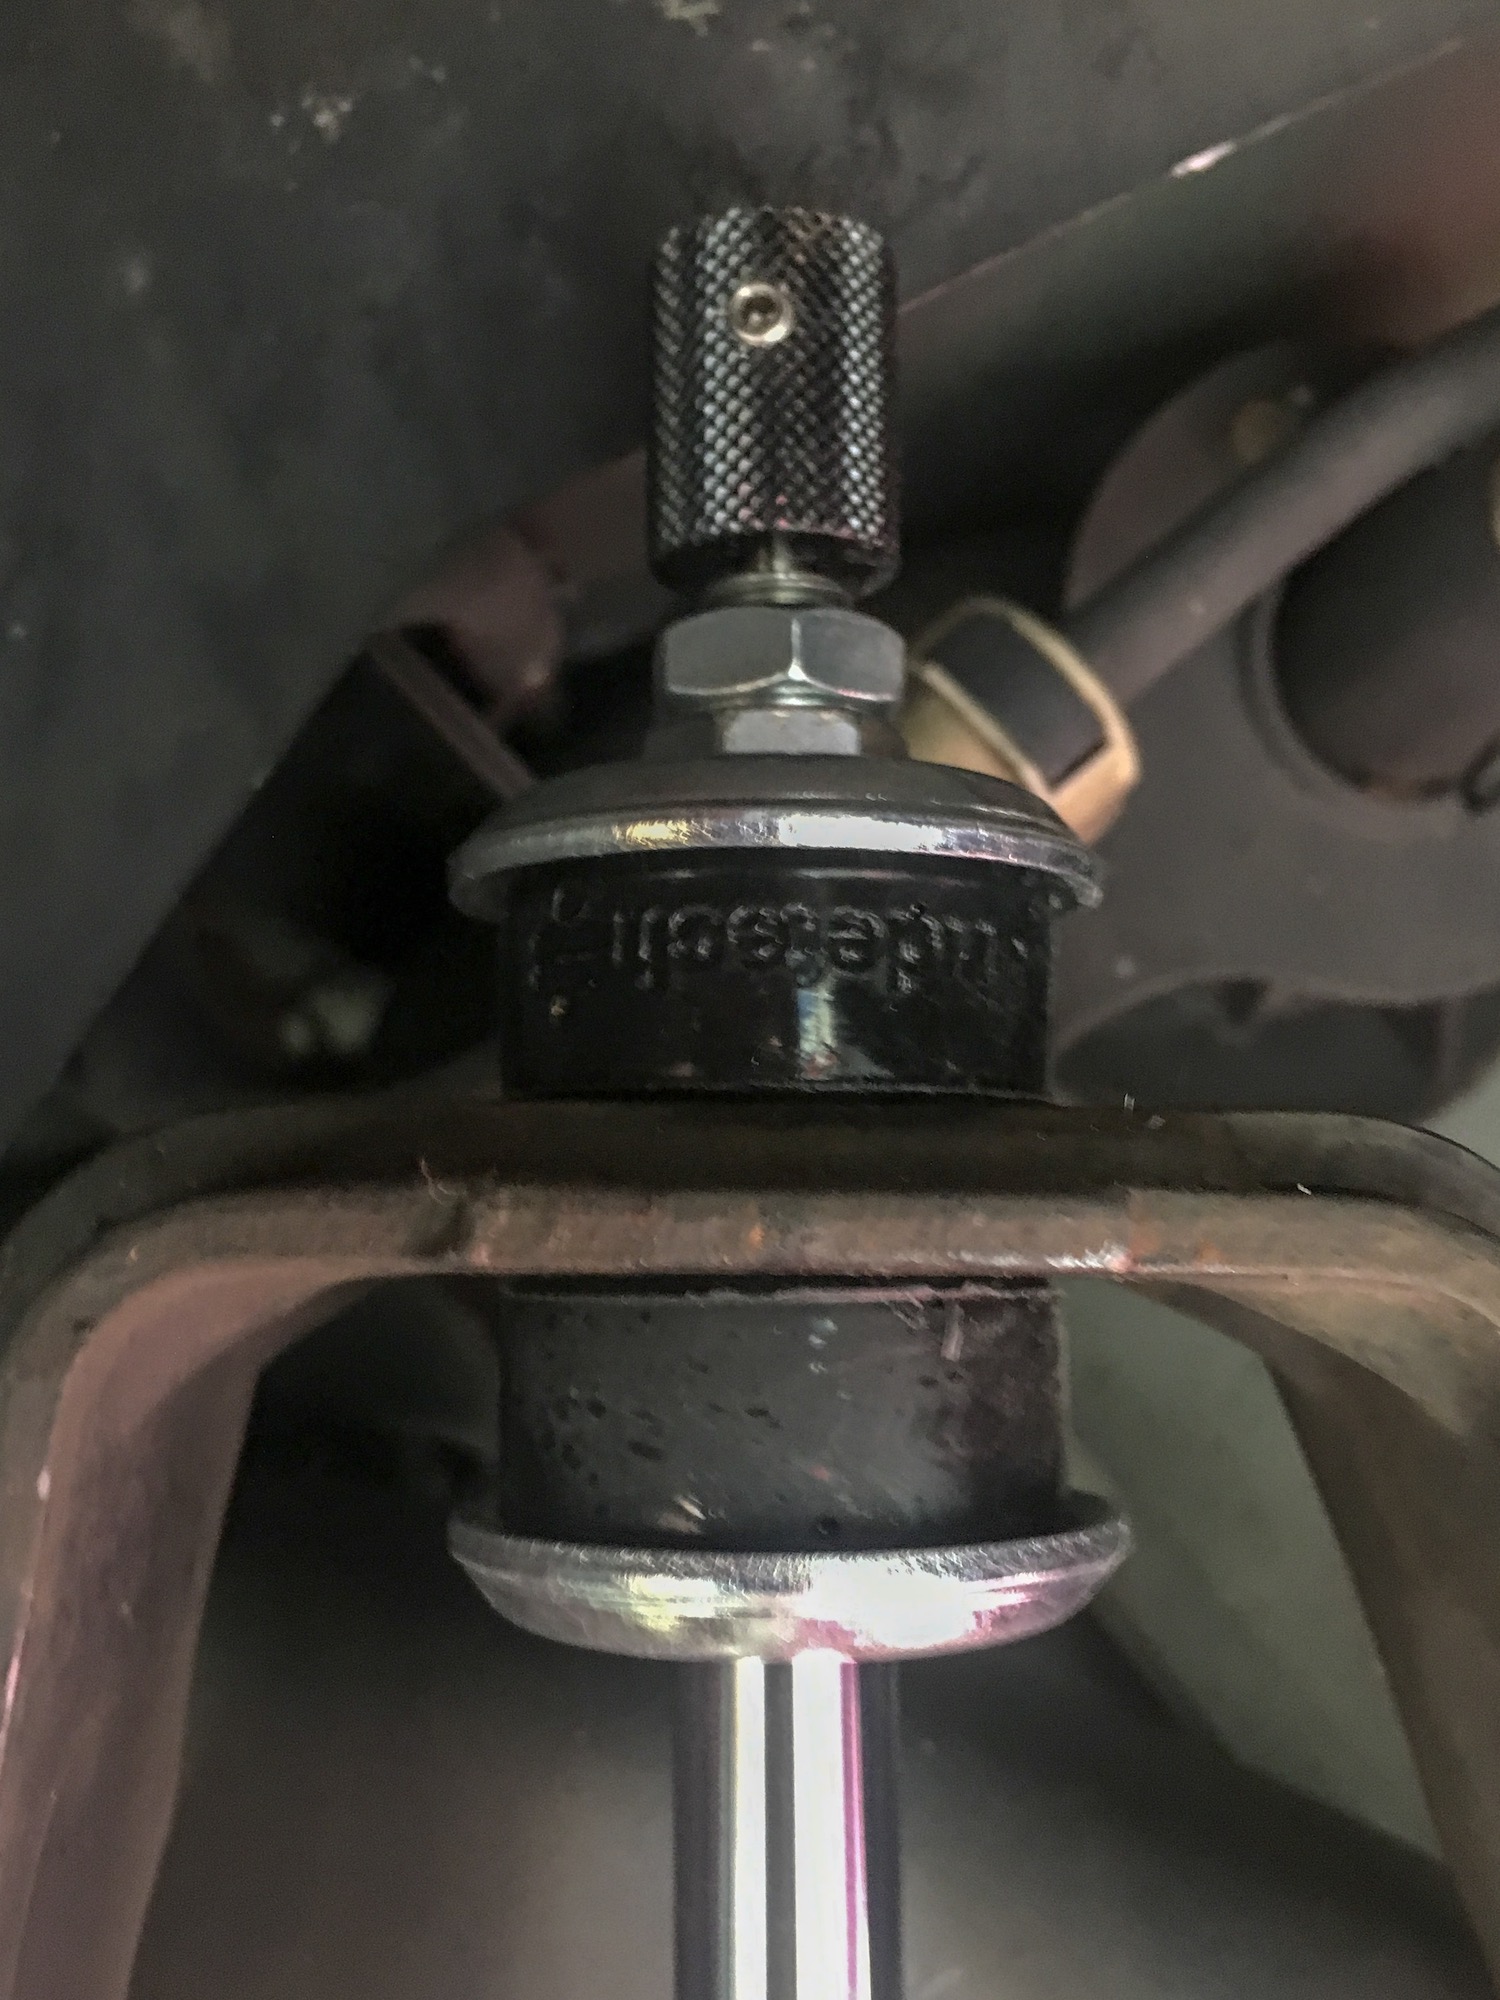
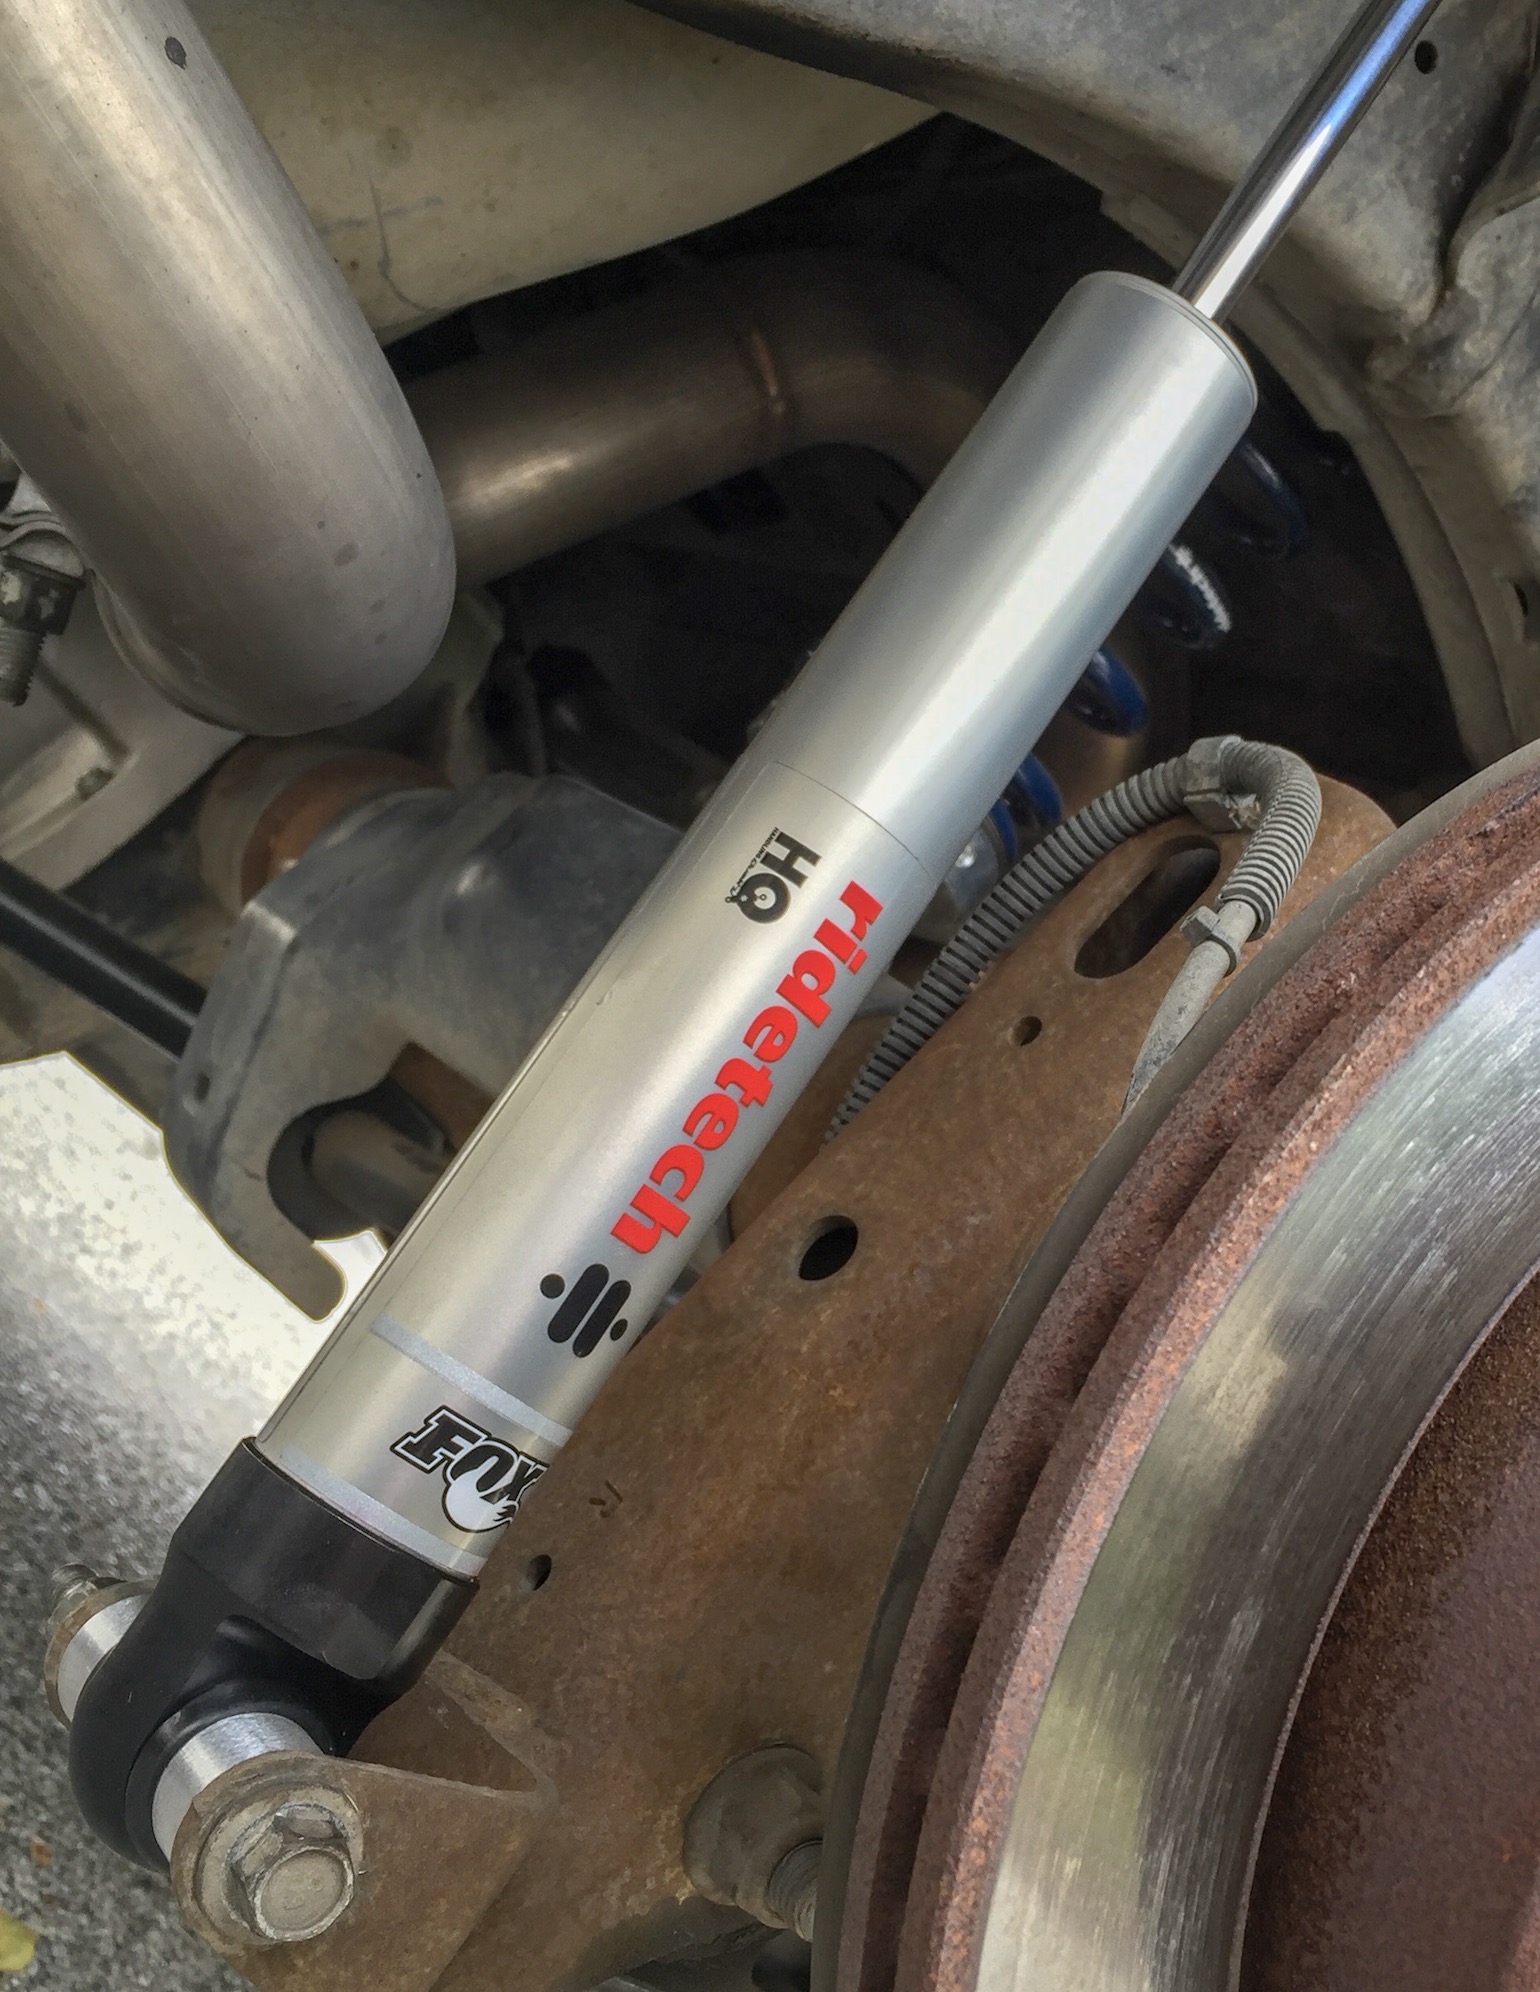
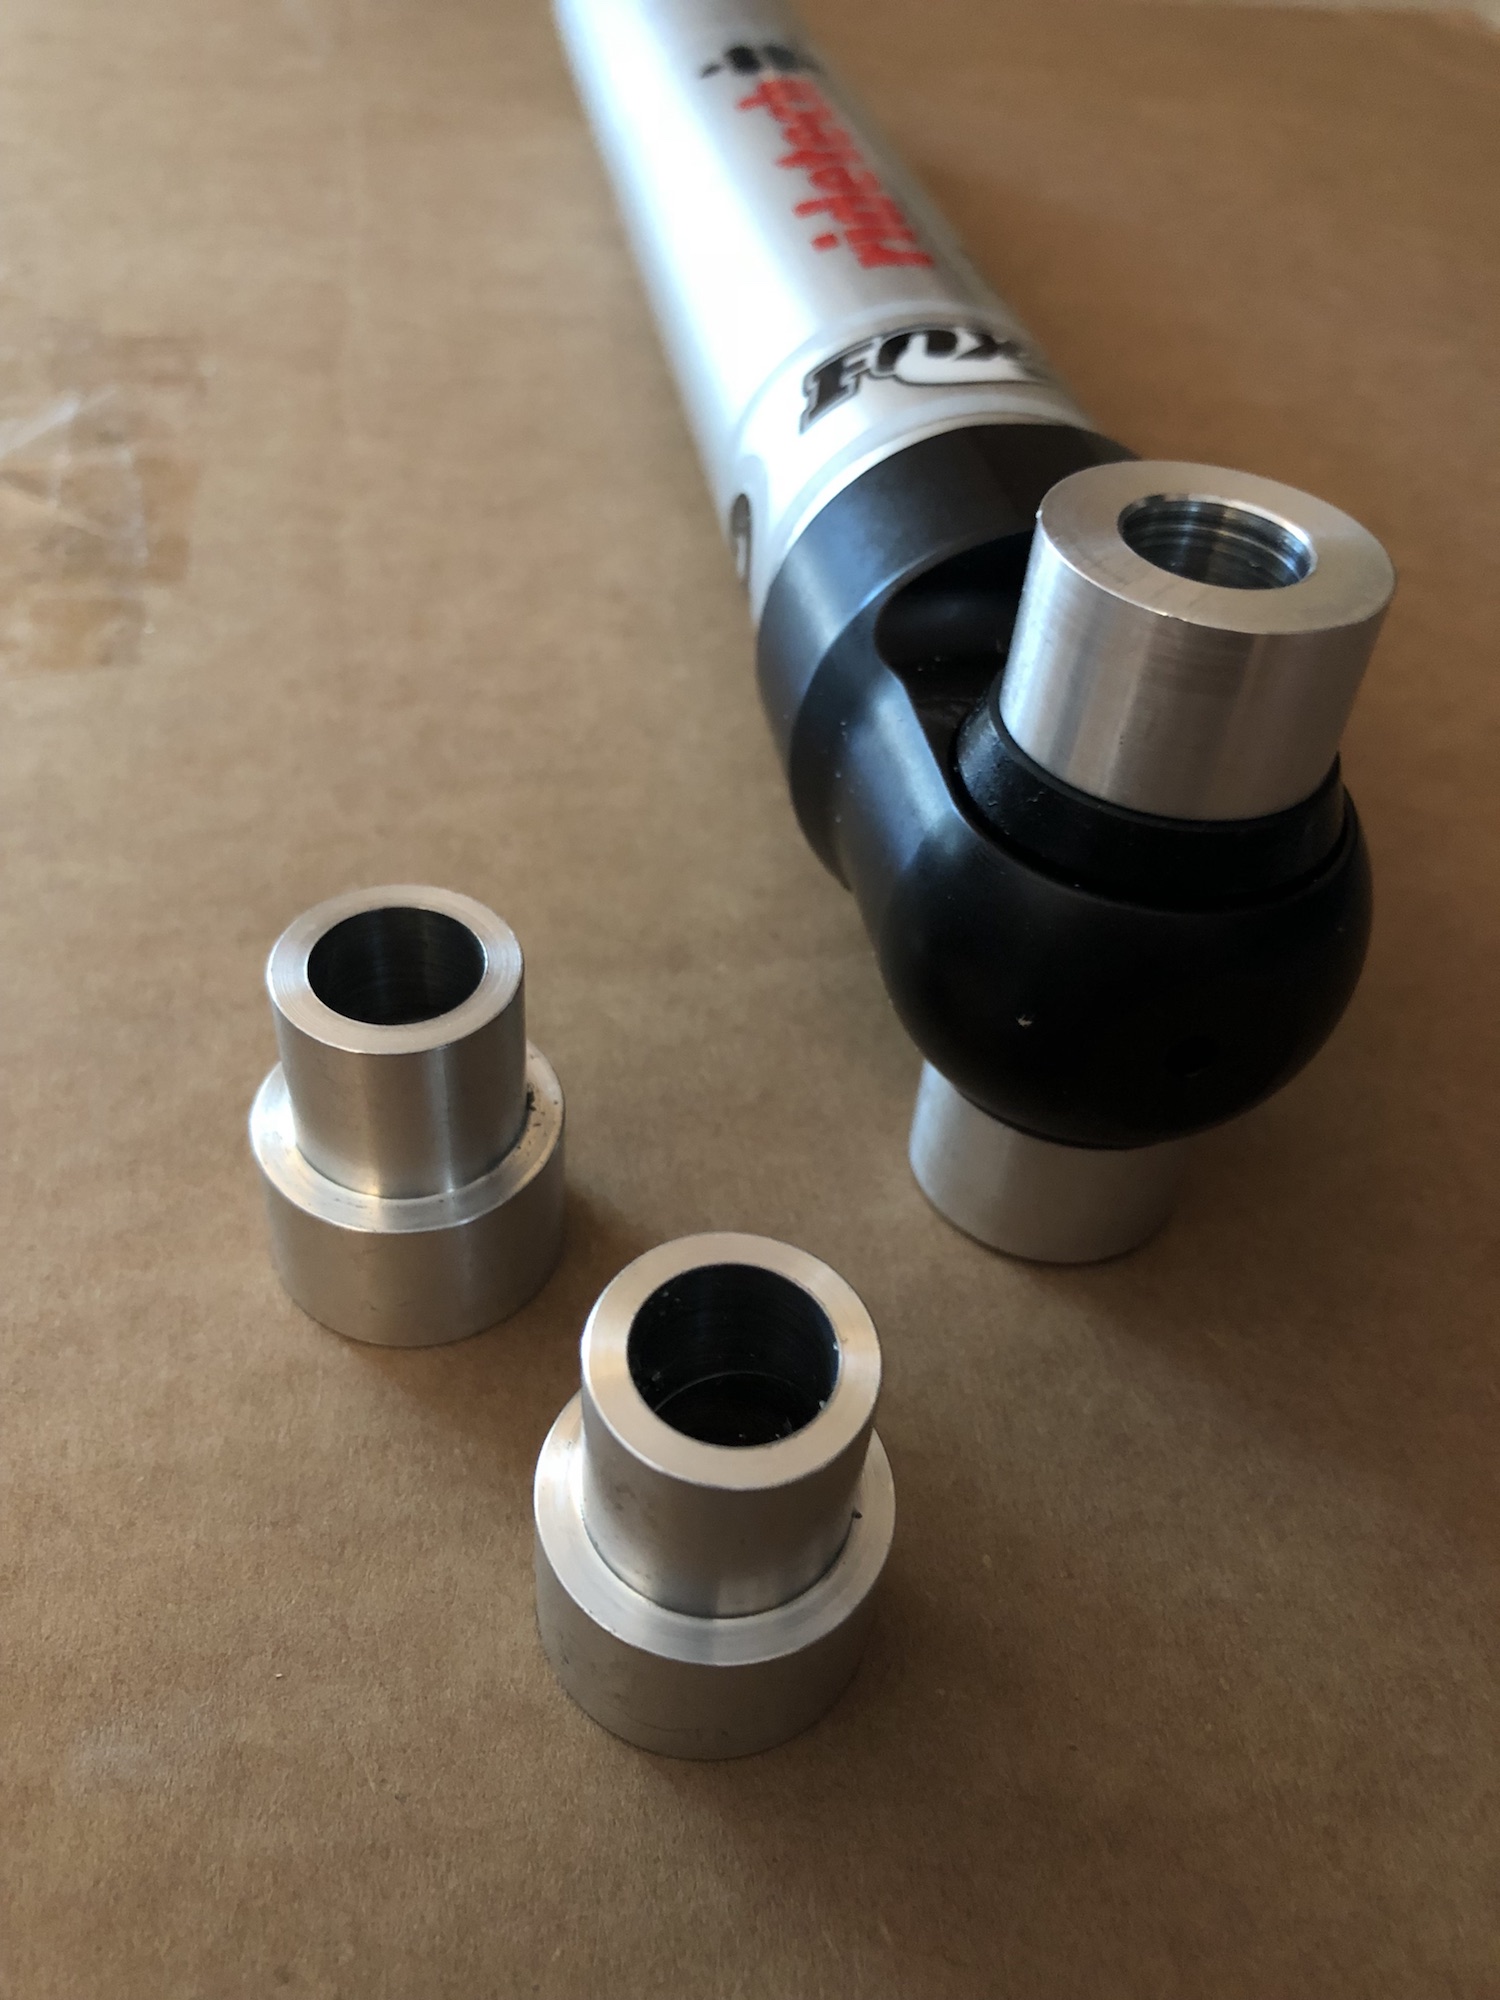
6.) Take the rear shocks and remove the adjustment knob. Install the upper washers/hardware as shown and finger tighten the bolts. Install the billet bushings in the lower eyelets as shown. (You will have a left over bag from Ridetech with shock bushings. Since we supply the billet bushings, those are not needed) Lift the rearend differential housing until the lower shock bolts can go through the lower shock eyelets and through the lower shock mounting tabs on the rear differential housing. Tighten the bolts on the top and bottom and re-install the adjustment knob on the top of the shock. We suggest adjusting the shock to full firm and then backing off 7 clicks to start. You can adjust from there to your personal preference.
TORQUE SPECS: – Upper stud to frame – 30 lb/ft (40 Nm) / Lower bolt to axle – 66 lb/ft (90 Nm)
7.) Now time to adjust the rear ride height
*If you have rear air suspension, don’t forget to flip back on the rear air suspension switch in the trunk.*
For spring equipped cars: Adjust the rear spring perch to get ideal ride height. It may be necessary to lift the car or remove the wheels and tires to access the adjustment points. Turn the perch clockwise to raise the vehicle and counter clockwise to lower the vehicle. Once completed line up the set screw to the closest machined slot on the threaded body and tighten. We recommend measuring from the bottom of the frame to the ground to accurately check ride height. After making sure front and rear is all tight go take a drive and re-check height. Adjust as necessary.
For air suspension cars: Adjust the rear ride height by adjusting the bracket on the watts link to get your desired height. For more information check out our other Knowledge Base thread here: How to Adjust Your Rear Ride Height
DON’T FORGET TO REGISTER YOUR SHOCKS WITH RIDETECH TO GET YOUR 1,000,001 MILE WARRANTY WITHIN 30 DAYS! FOR MORE INFO ON THE WARRANTY CHECK OUT THE FOLLOWING PAGE: Ridetech Shock Warranty (We also suggest keeping your stock front and rear shocks and struts just in case there are any warranty issues. You will need to send in your Ridetech shocks to be rebuilt so if this is your daily keep your originals!)