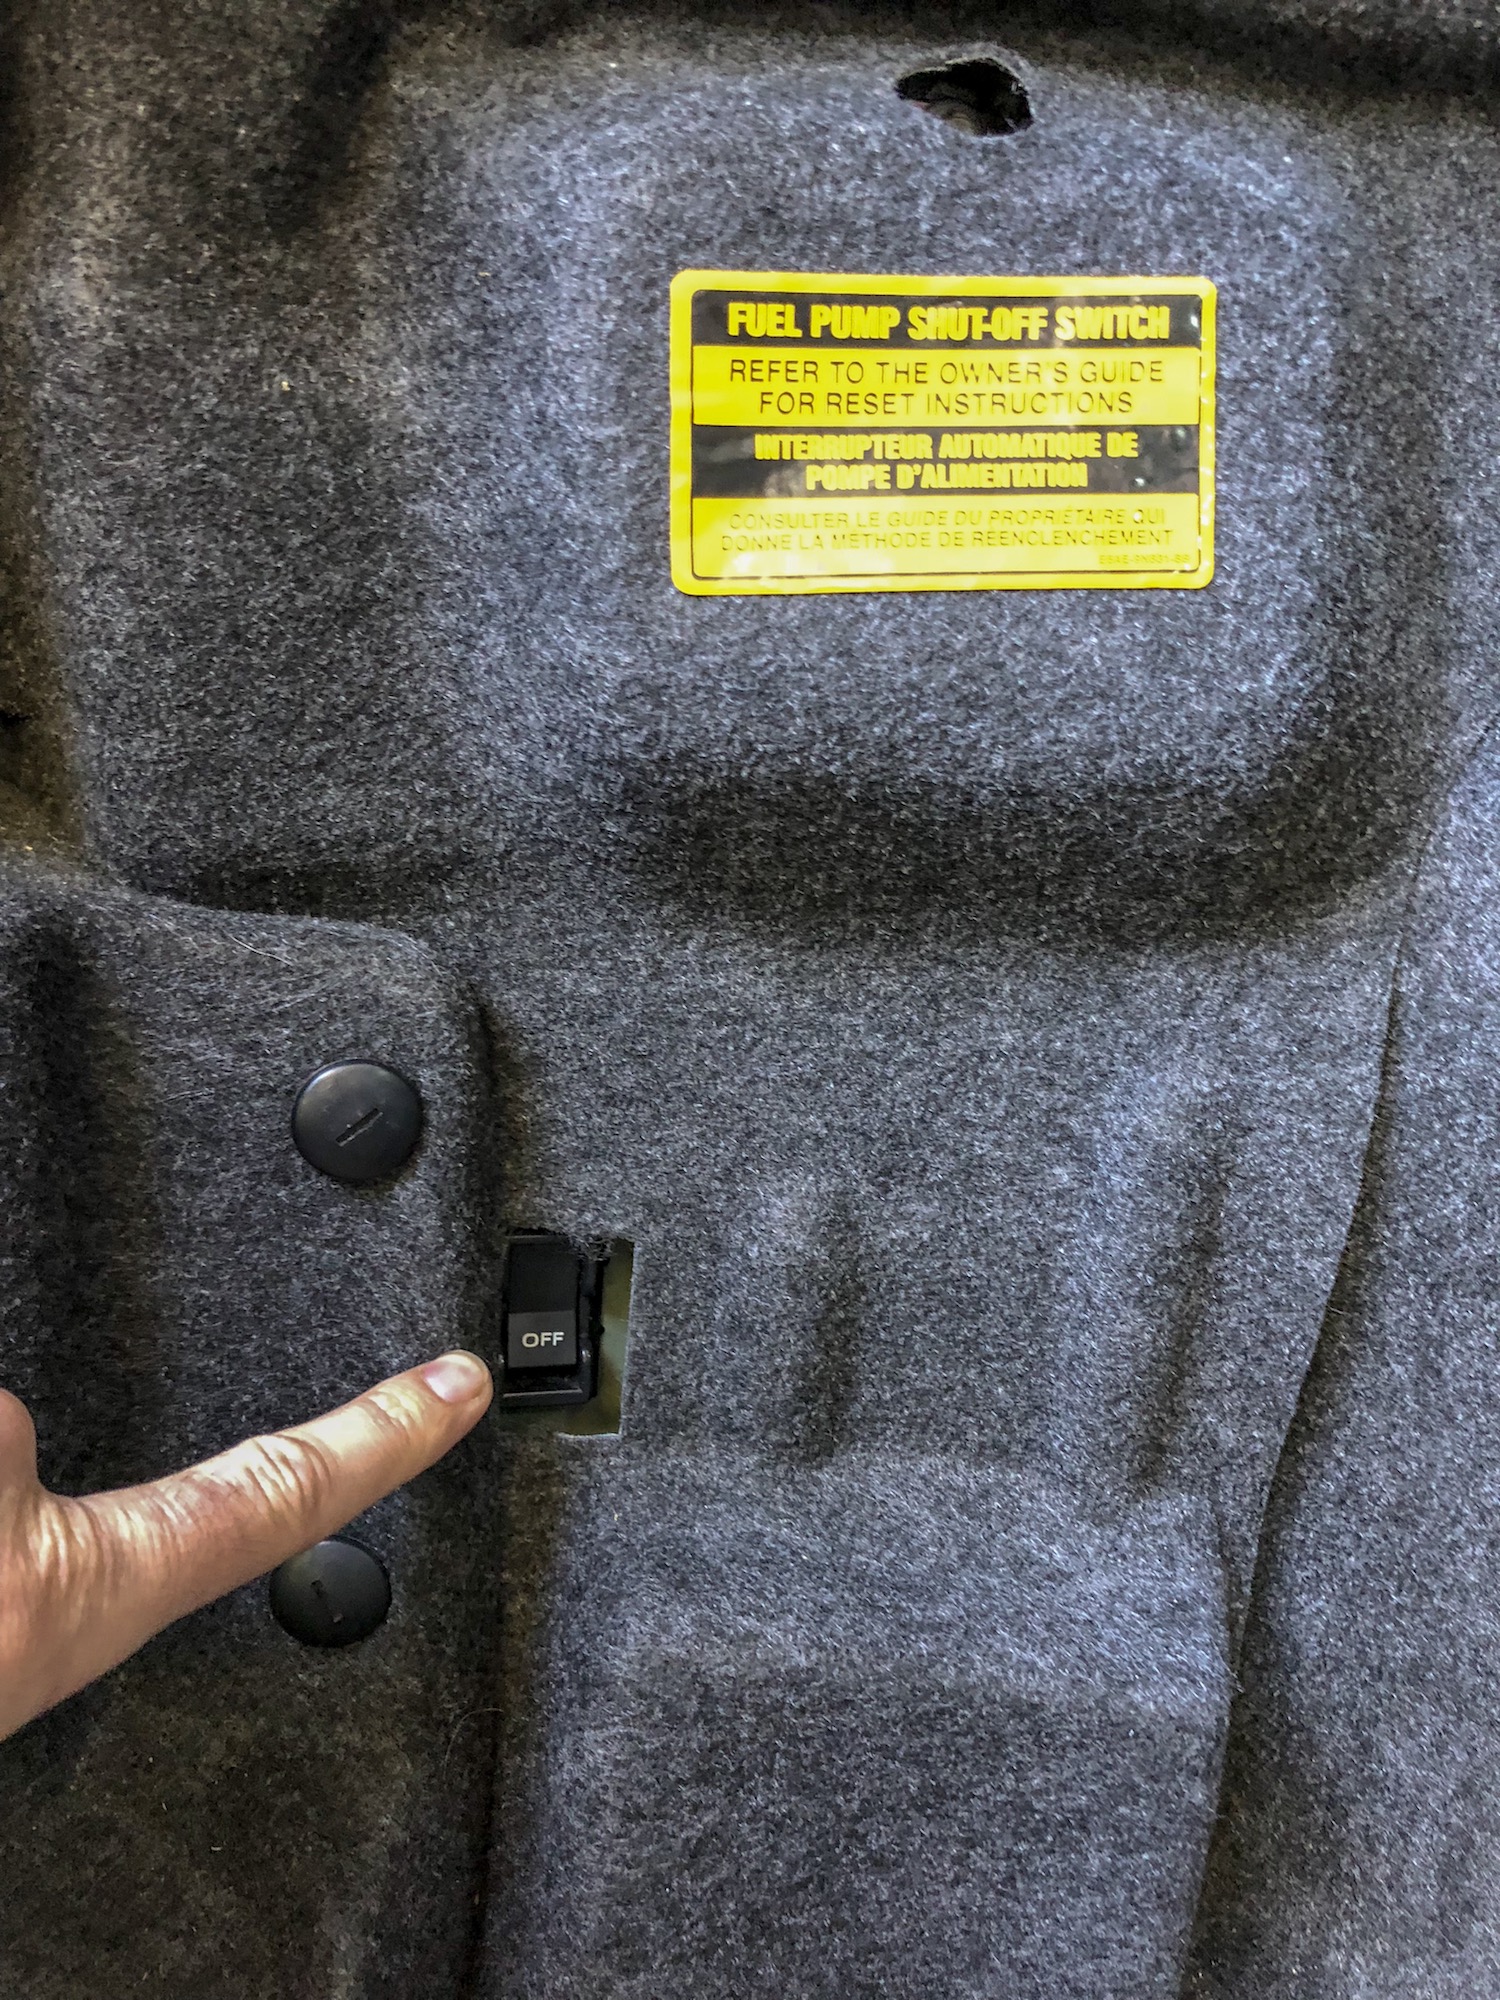
1. Shut off the air ride suspension by flipping off the switch located in the trunk. It’s found on the driver’s side near the fuel pump reset switch as seen here:
2. We recommend marking the location of the air ride bracket on the driver’s side watts link with a Sharpie before loosening the bolts so you know where the bracket was located originally. Loosen the nuts on the air ride bracket using an 8mm and 11mm socket until the bracket can slide. Small adjustments make a big difference so multiple adjustments may need to be made to get it perfect.
(92-97 Rear Air Suspension adjustment): Move the bracket on the driver’s side upper control arm. Shortening the sensor raises the car, lengthening it lowers the car
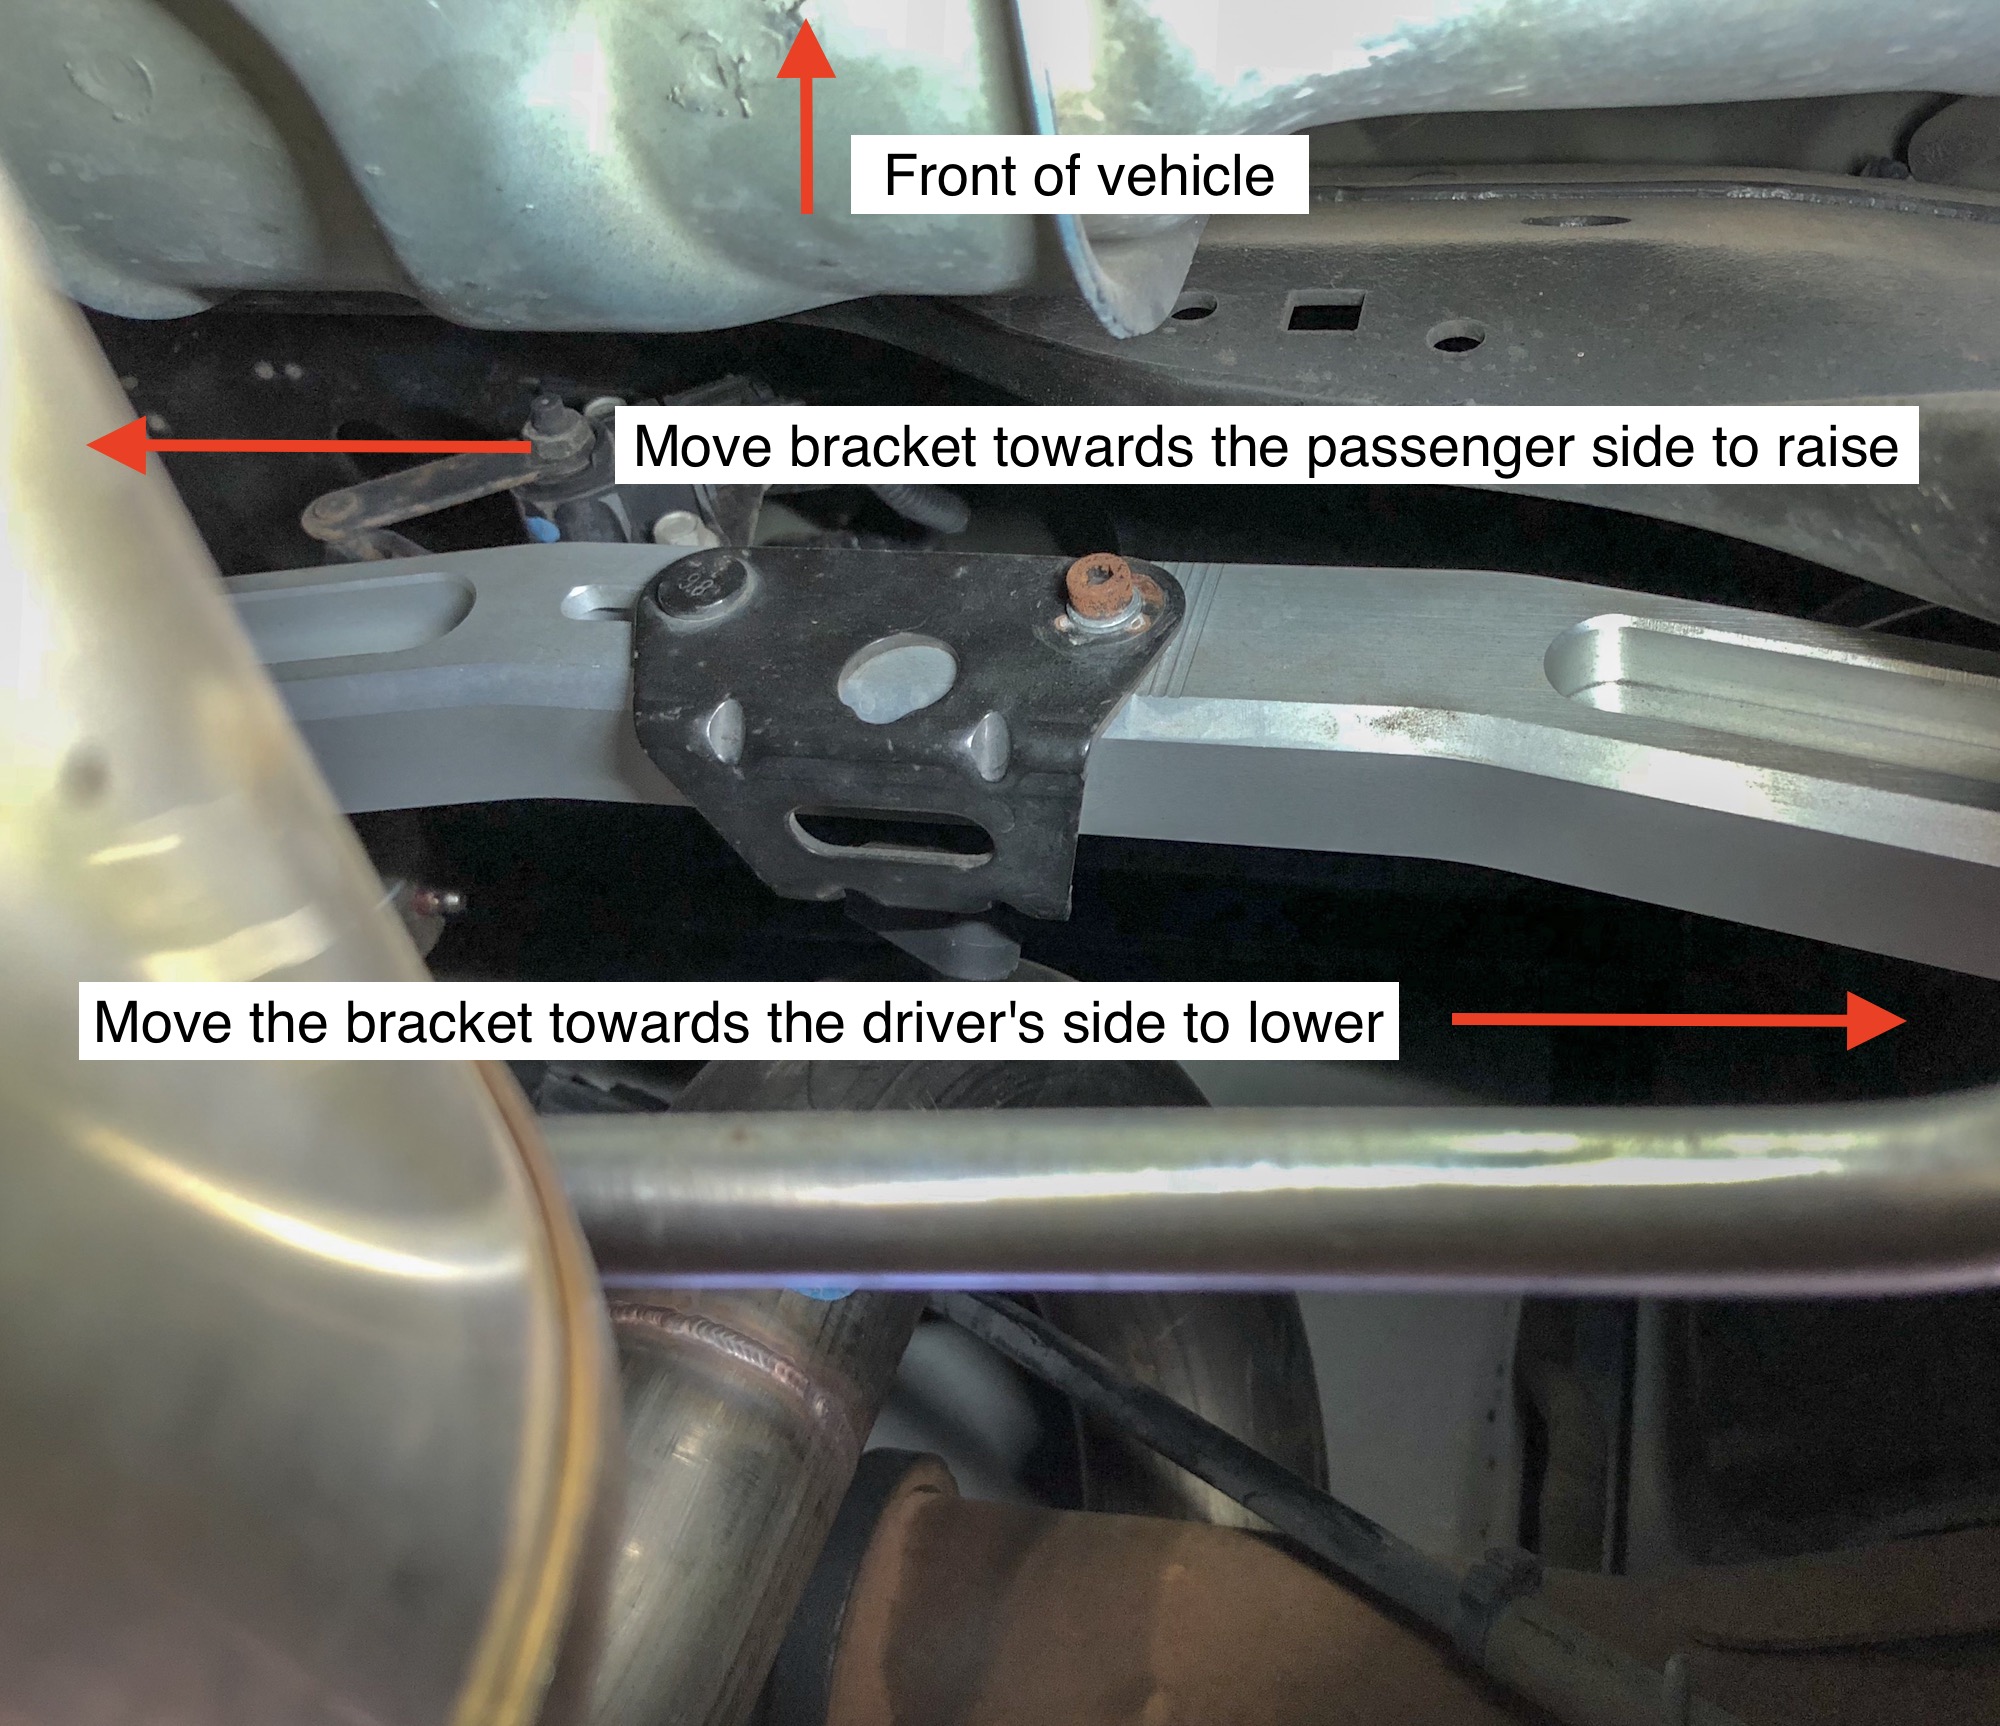
(98-11 Rear Air Suspension adjustment): Move the bracket on the driver’s side watts link arm towards the driver’s side to lower and towards the passenger side to raise
98-11 Pictured:
3. Tighten nuts and turn the air ride switch in the trunk back on
4. With all the doors and trunk shut, turn on the ignition and wait about 20-30 seconds for the system to adjust. The system should adjust the level to your settings. As mentioned previously, you may need to adjust multiple times to get the ride height exactly where you want it.