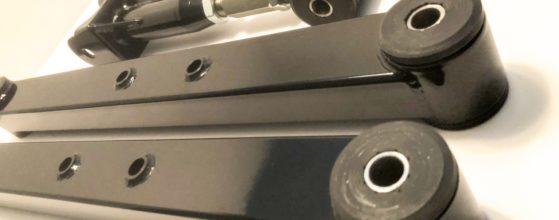
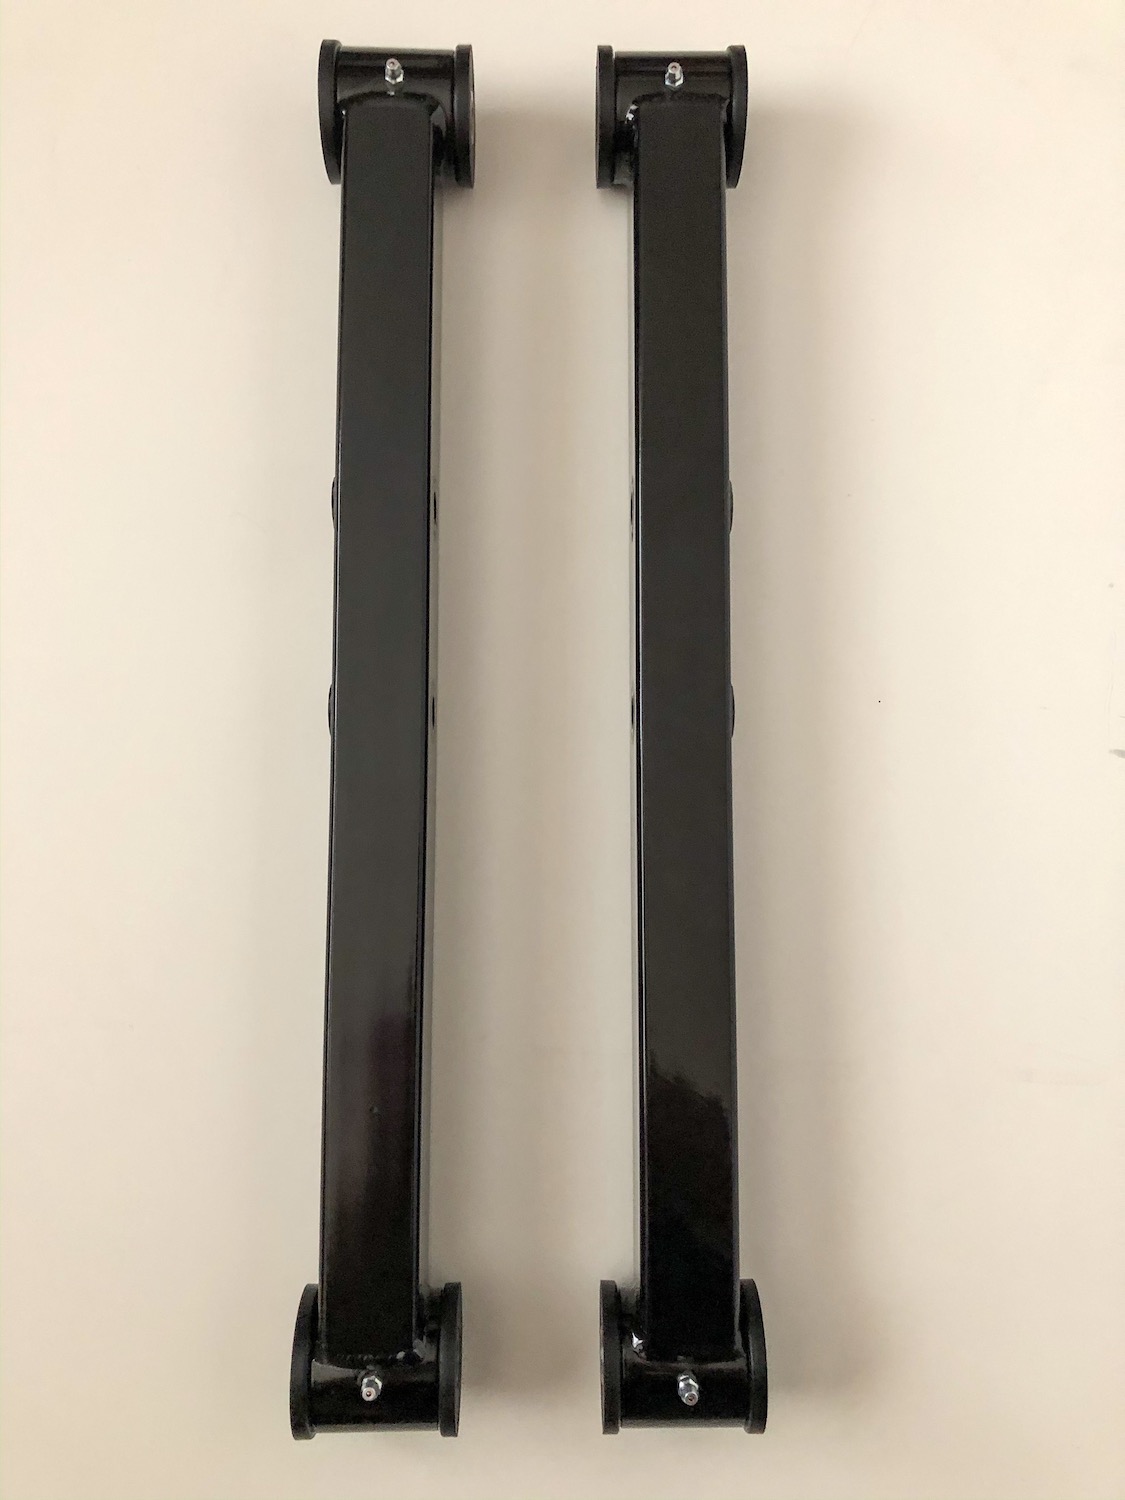
This article will show installation tips for ADTR’s 79-97 rear control arms. These arms will work for all 79-97 Crown Vics, Grand Marquis and Town Cars.
1.) Raise the vehicle and place it on jack stands with the rear axle hanging. (no weight on the rear axle.) Place a jack under the differential housing for support.
2.) Unbolt and remove one upper rear control arm at a time. This will make it easier to line up the new control arms when they are installed.
3.) The upper control arms are adjustable to adjust your pinion angle. The uppers come from ADTR CLOSE to the factory length but they are not perfect. We suggest checking and adjusting accordingly. The factory length center to center should be around 12.0″ so you can start from there. The upper arms have jam nuts so if you need to adjust them once they’re installed, loosen both (keeping in mind one is reverse thread) and turn the center adjuster to lengthen or shorten depending on what you need. Shorten the arms for more nose-down pinion angle or lengthen the arms to bring the pinion angle up. Normally a 1/8″ adjustment will change the pinion angle approximately a degree or two. Adjust both arms so they are the same length. Make sure to tighten the jam nuts once length adjustment is completed.
Not sure how to set pinion angle or what pinion angle is? Check out the following links:
Hot Rod Magazine Article: How To Set Pinion Angle
Hotrod Hotline Article: Setting Pinion Angle
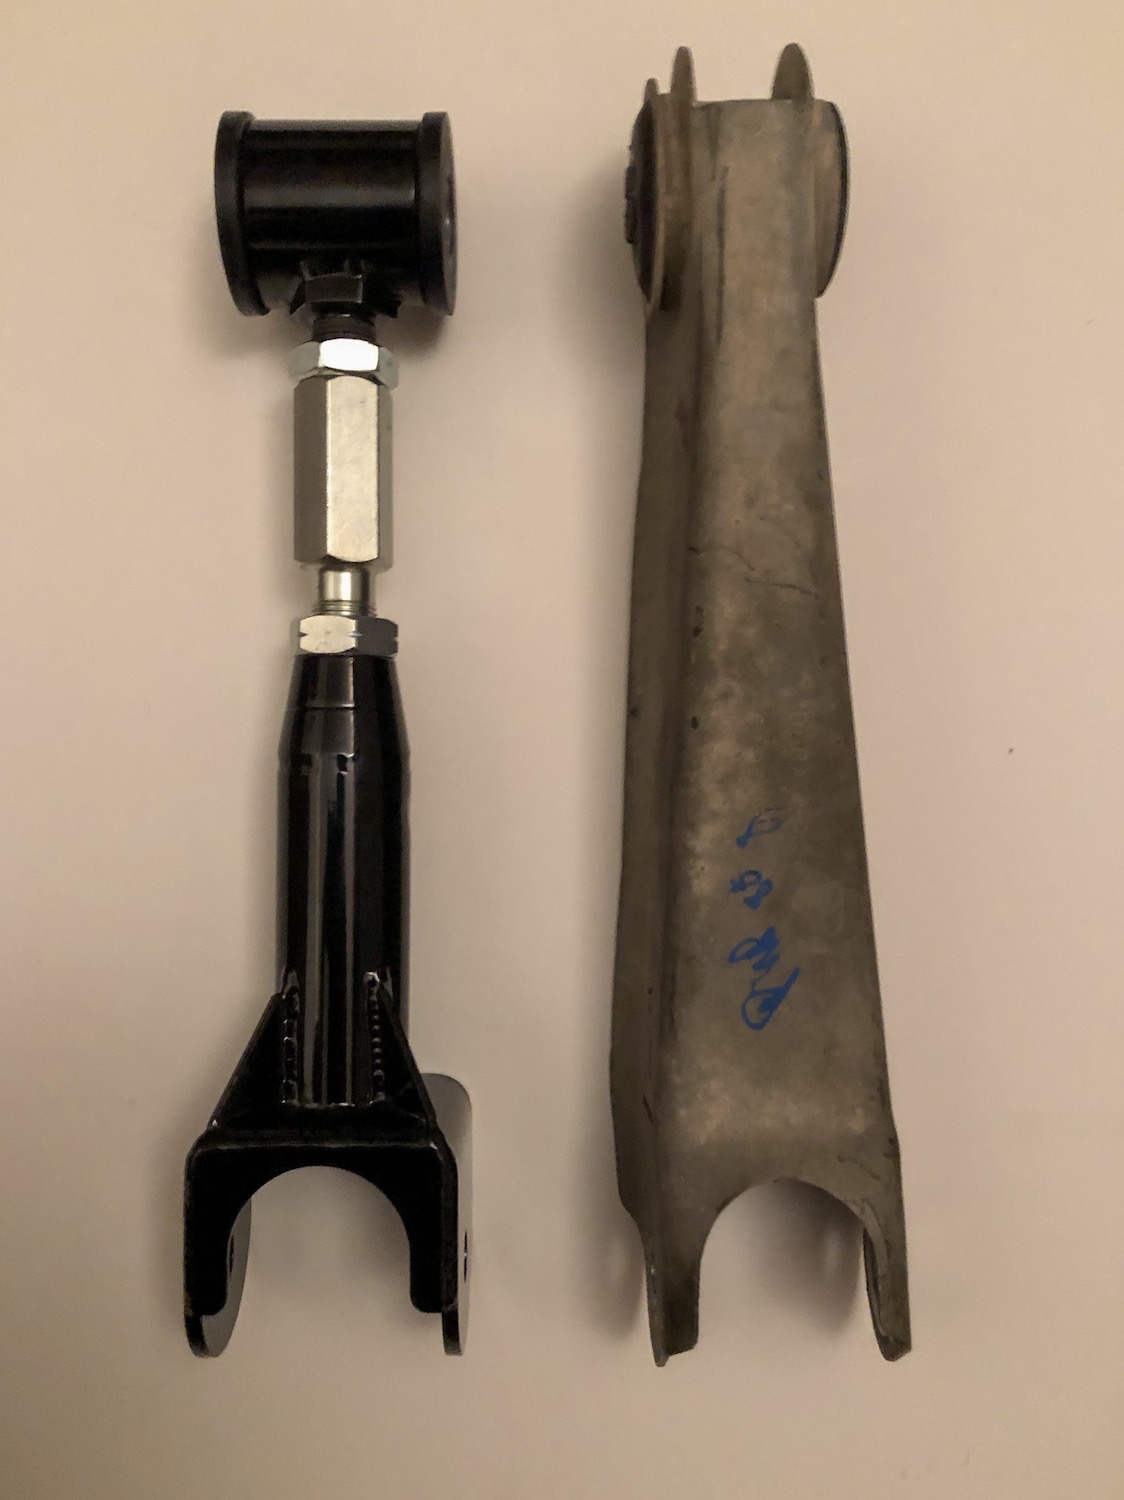
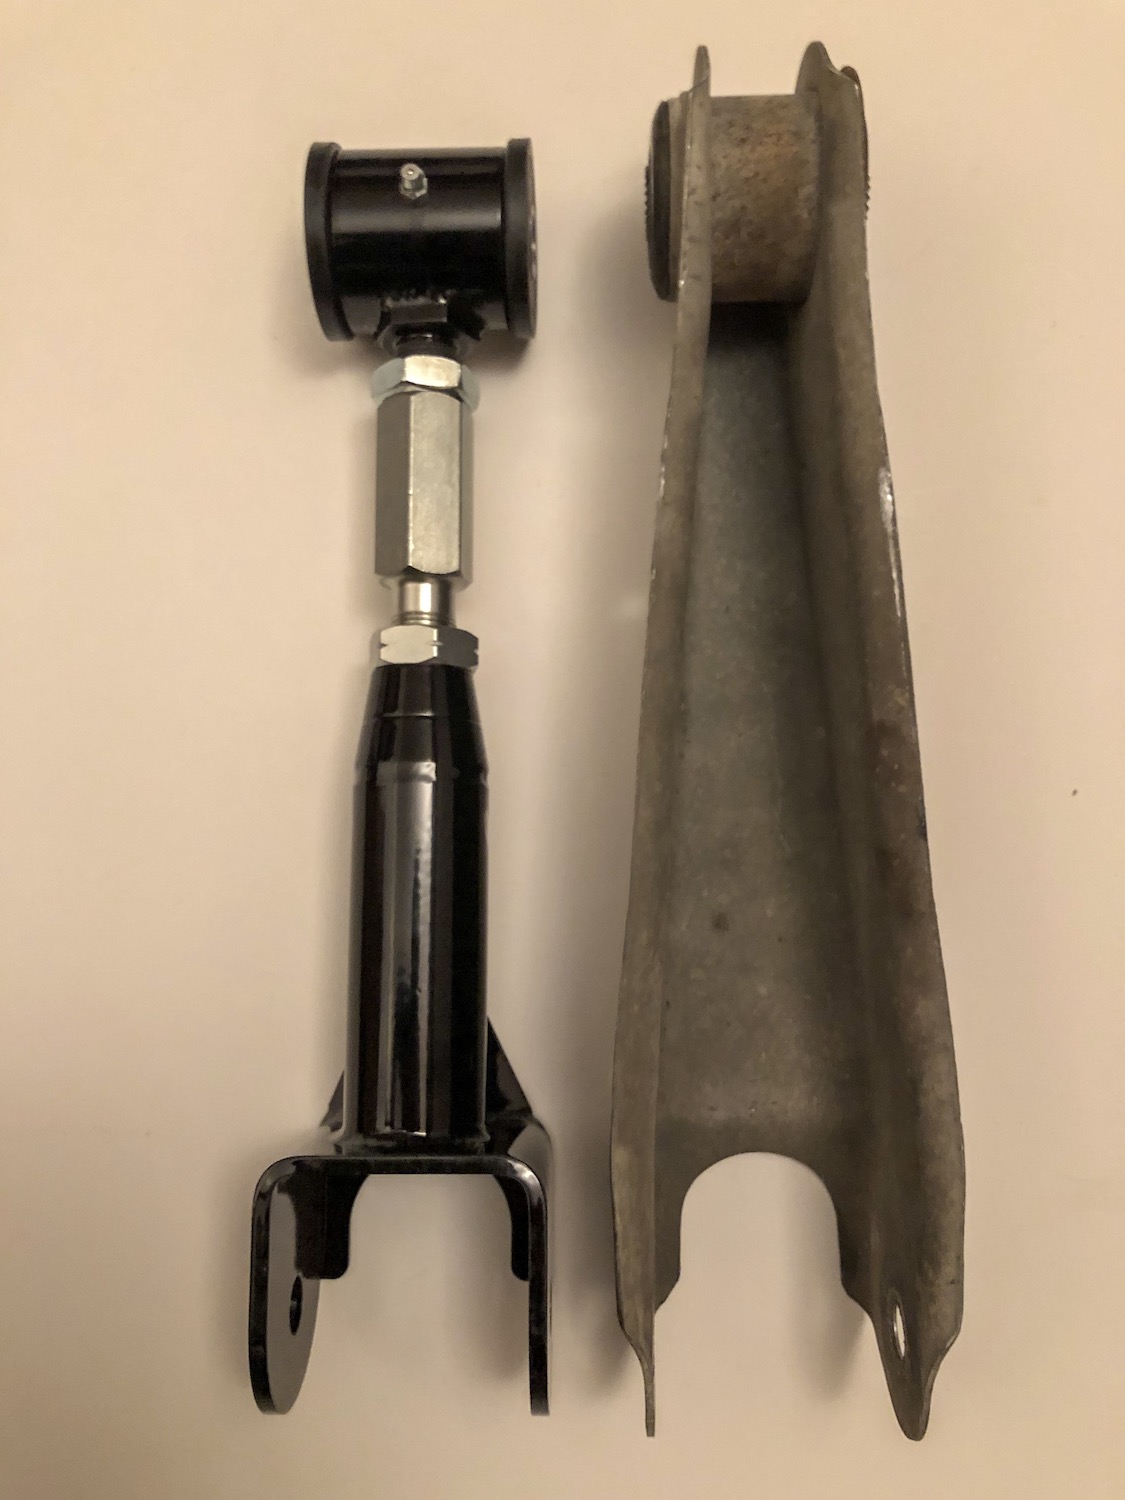
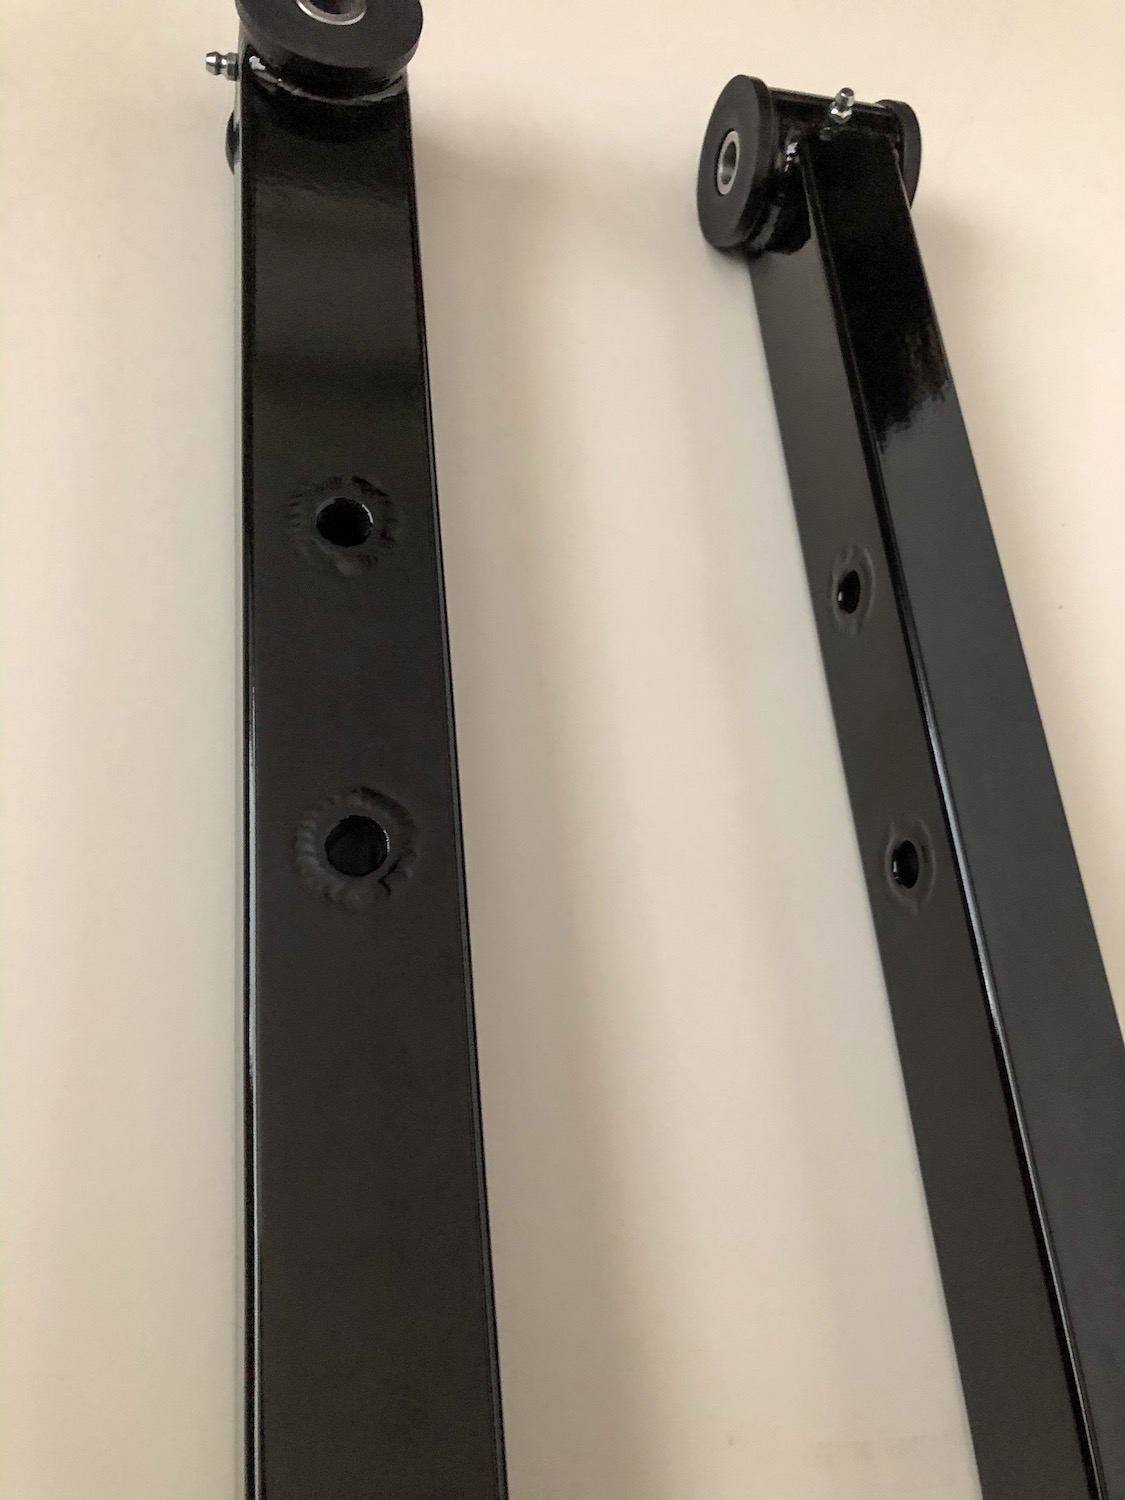
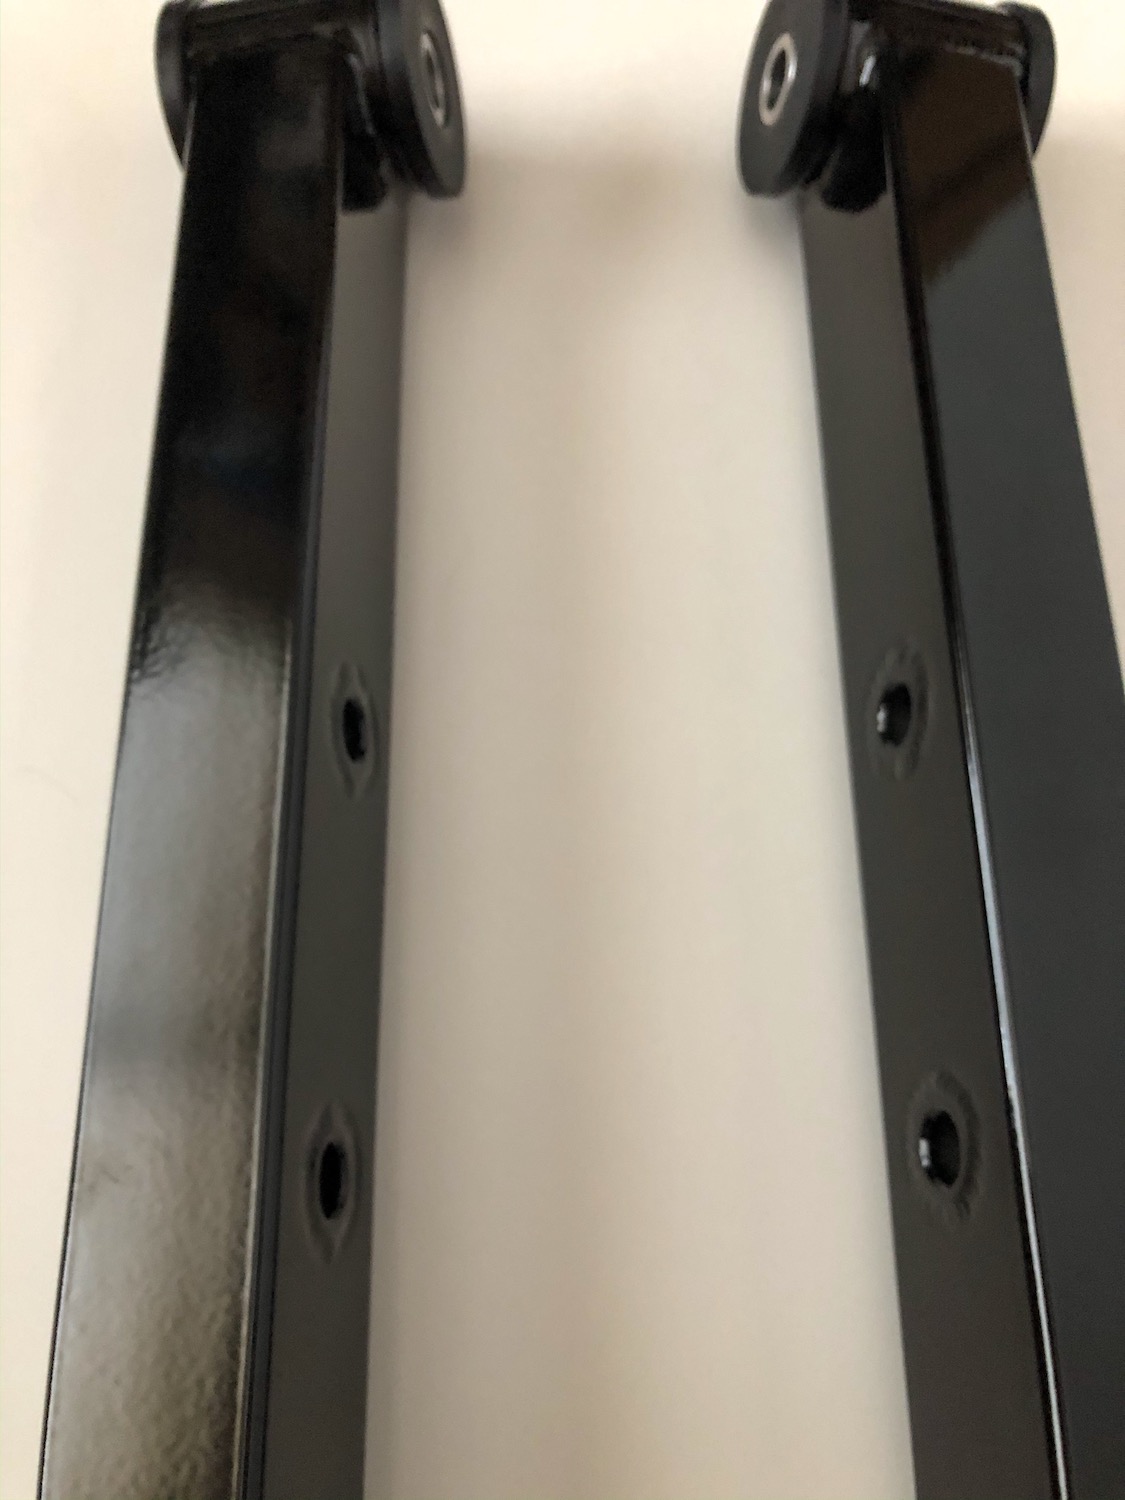
4.) Here are some pictures showing how the upper arms should be configured. Note the zerk fittings pointing downward so you can access them once installed on the car and the brace on the top side of the rear of the control arm needs to be on the top side for clearance
(From the top looking down comparing between the stock and adjustable upper control arm)
(From the bottom looking up comparing between the stock and adjustable upper control arm)
5.) Install both upper control arms using a light amount of grease on the outside of the bushings. Tighten control arm mounting bolts but do not torque! Only torque once the weight of the vehicle is on the rear end!
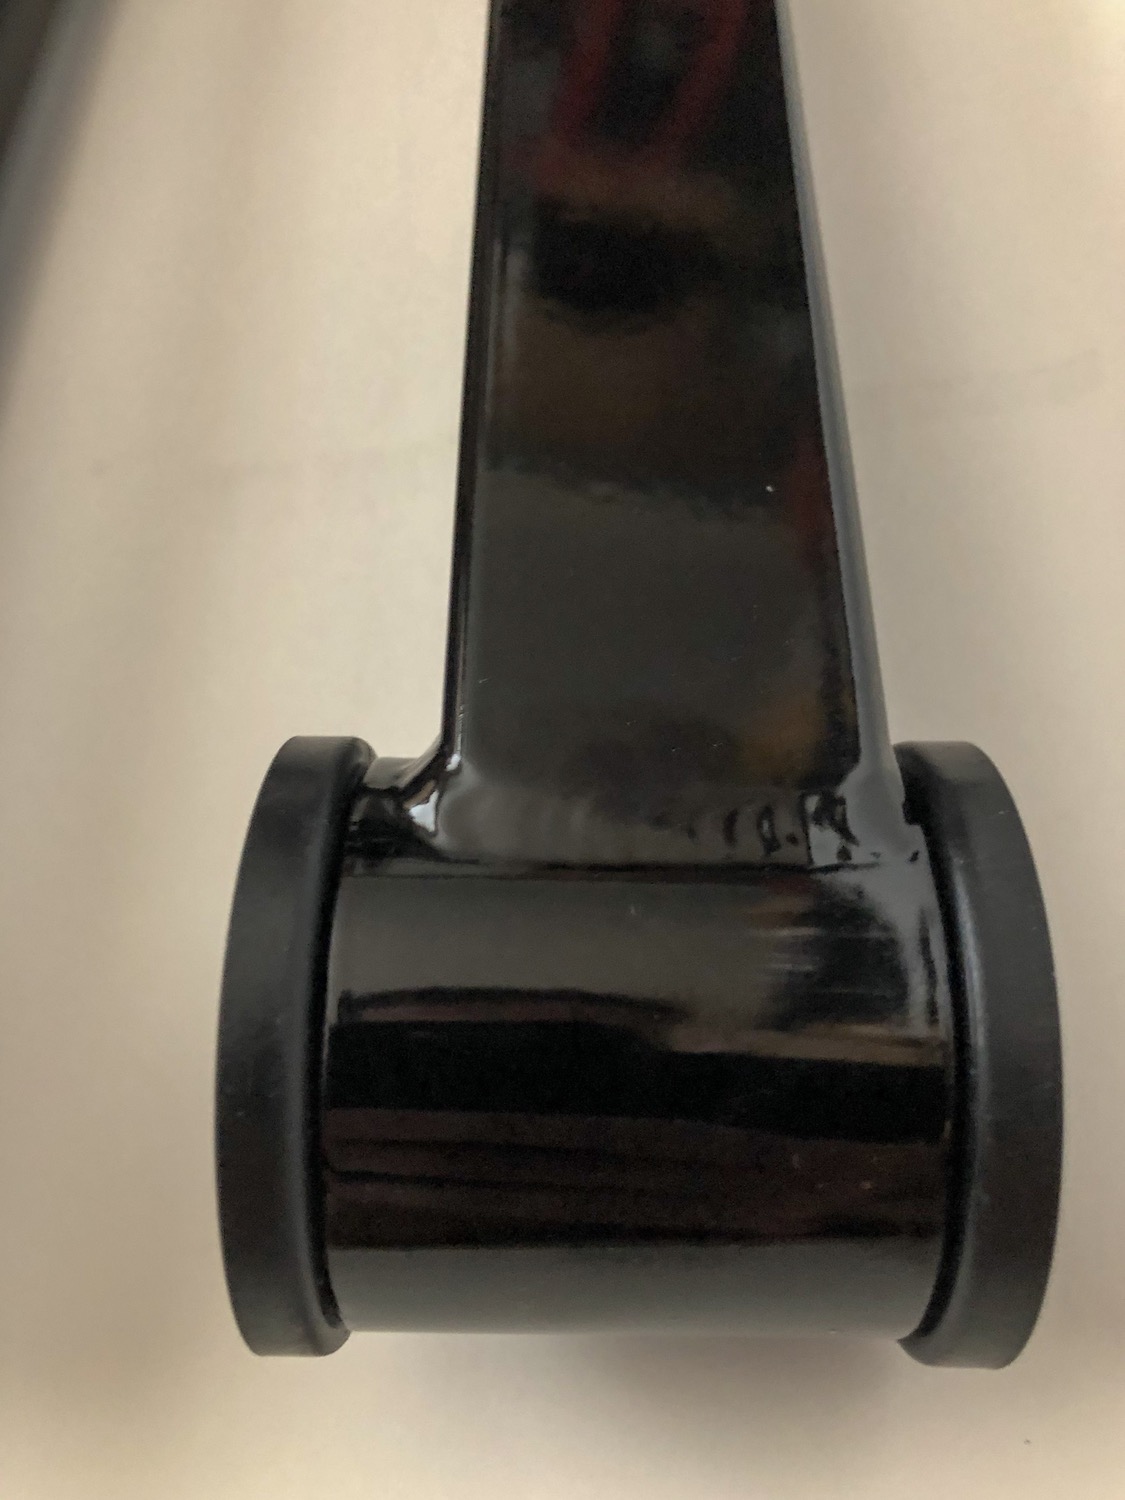
6.) The lower control arms have to be oriented correctly before being installed. The zerk fittings need to be pointed down so you can access them once they’re installed in the vehicle. The lower arms have two sway bar mount holes in the center of each arm which allow these arms to work on the 79-91 Panthers. (If you’re installing these on a 92-97 car you can disregard any info on mounting your sway bars to these arms. You’ll continue to mount your sway bar to the frame like normal) For the 79-91 owners, the sway bar holes in the arms need to be positioned closer to the front of the vehicle. The surface of the control arms on the inside should be flat where the sway bar mounts.
(From the bottom looking up w/ grease fittings pointed down)
(The flat face of the control arms where the 79-91 sway bars will mount)
(Also note the offset of the control arms to make up for the larger thicker bar stock. The offset goes towards the outside of the vehicle. This picture shows how the rear of the passenger side should be oriented)
7.) Remove each lower control arm one at a time. Take the correct side lower control arm and lightly grease the outside face of each bushing. Repeat for the opposite side. Tighten the control arm mounting bolts but do not torque without weight on the rear axle!
8.) Install the sway bar (if 79-91) using stock hardware. If 92-97 please disregard
9.) Once there is weight on the rear of the vehicle, torque the rear control arm mounting bolts to factory specs. Double check pinion angle once the car is completely reassembled. Make sure to tighten the jam nuts on the upper control arms once adjusted and check after a couple test drives to make sure they don’t loosen.
Enjoy!