This will show installation of an ARP watts link stud on Jim Leonard’s 2008 Crown Victoria Police Interceptor. The installation on this car is identical to all 1998+ Crown Victorias, Grand Marquis, Marauders and Town Cars. This car already has the updated watts links arms. (Thanks to Jim for the great pics!)
What you’ll need:
- Jack and jack stands
- Magnetic dish
- Liquid wrench/penetrating lubricant
- Blue Loctite
- 18mm wrench / socket
- 24mm wrench / socket
- 30mm socket (We personally used a Sunex 230MXD extra deep socket while others suggest ARES 12034 extra deep socket)
1.) First step is to lift the rear of the vehicle to gain access. Lift at the rear pumpkin and put the jack stands under each end of the axle. The tires do not need to be removed. Once properly lifted, loosen the bolts on the Watts links at the center pivot and swing the arms out of the way using any 18mm wrench or socket combination. *If you’ve got a broken watts link stud then you will need to extract the broken part that commonly breaks off in the housing. You can use a bolt and drill extractor kit along with some penetrating lubricant to get it out. We suggest you chase the threads after you get the broken stud out with a m16x2.0 tap.
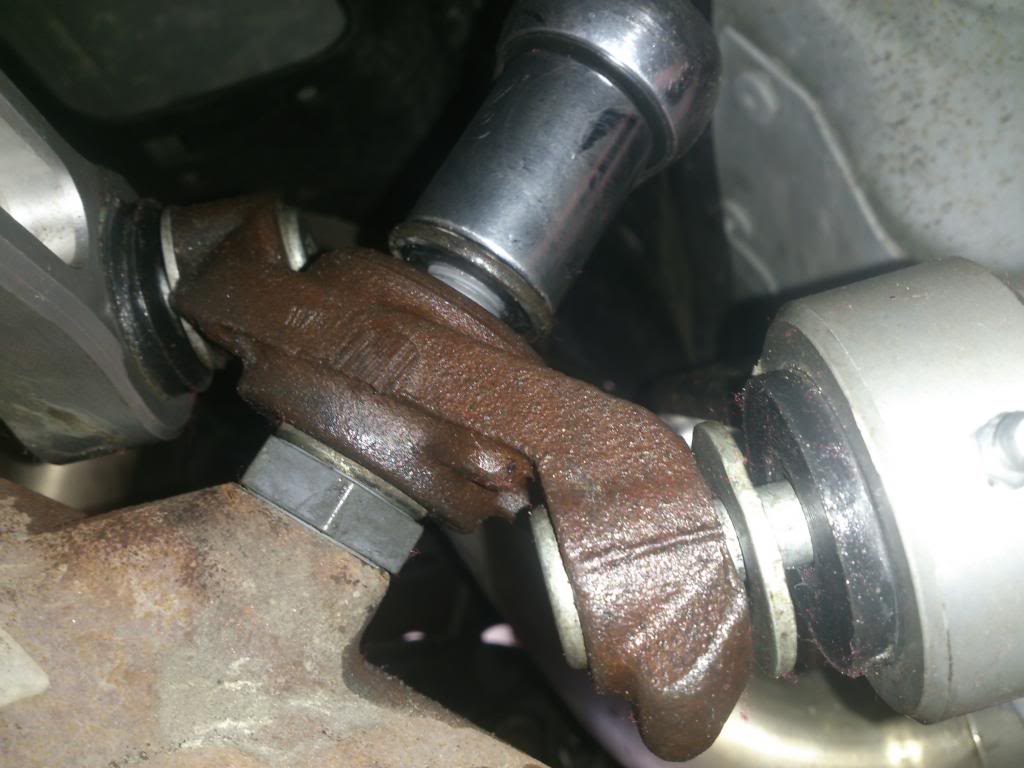 (Removal of the watts links off center pivot)
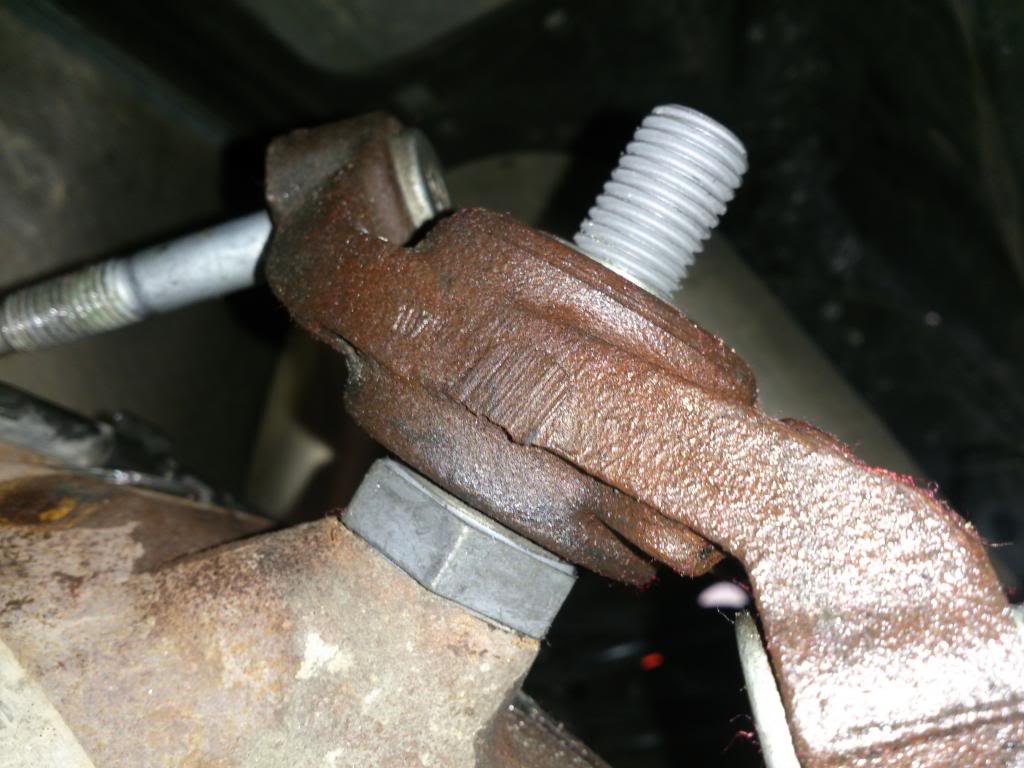
2.) The hard part is loosening the center pivot nut. Use the 24 mm socket (or 15/16 which is more readily available in most toolboxes) and remove the nut. Many times the stud comes with the nut so I suggest a crescent wrench to hold the stud at the rear end housing. Remove all the nuts and keep them on a magnetic dish.
 (Original stud coming out with 24mm nut)
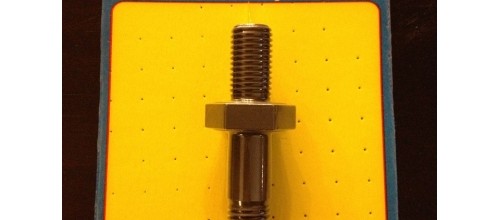
3.) Take the new ARP stud and apply blue Loctite on the threads. Screw the stud into the rear differential housing and tighten. You can use the 30mm socket and torque to spec (199 ft/lb for the stud) With Loctite involved its important to fully torque sooner than later. Applying torque after 10-15 mins of cure will have reduced clamp loads and may lead to failure!

4.) Place the original pivot on the new ARP stud and make sure that it faces front as marked on the casting.
5.) Position the Watts link arms back in place and put the nylock nuts on loosely. Check to make sure all arms are installed correctly and the pivot is aligned correctly. Once confirmed, tighten all the fasteners and torque to factory specs. Watts link stud nut torque: 184 ft/lb / Watts link arms to frame bolts torque: 76 ft/lb / watts link arms to center pivot nuts: 68 ft/lb.